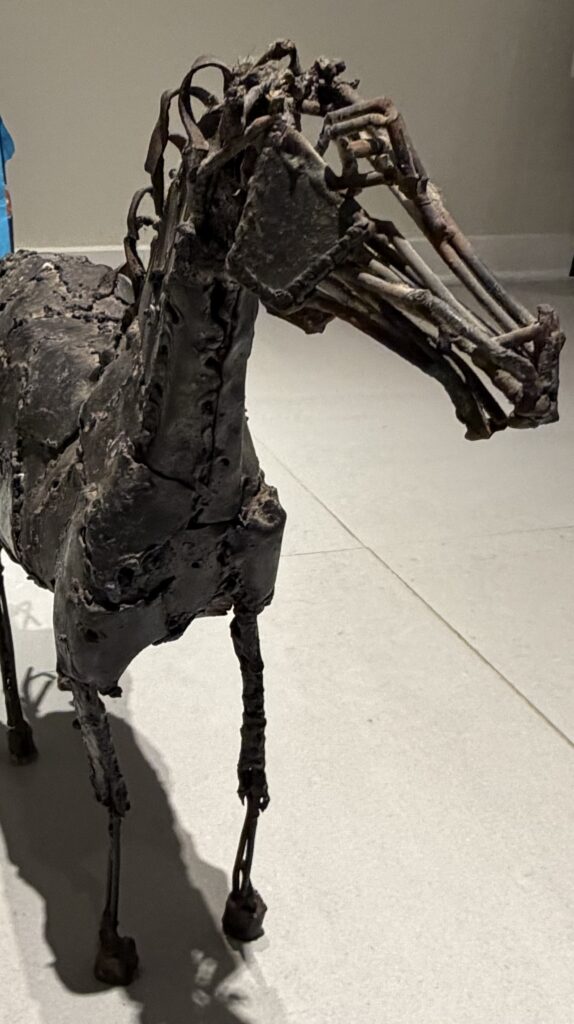
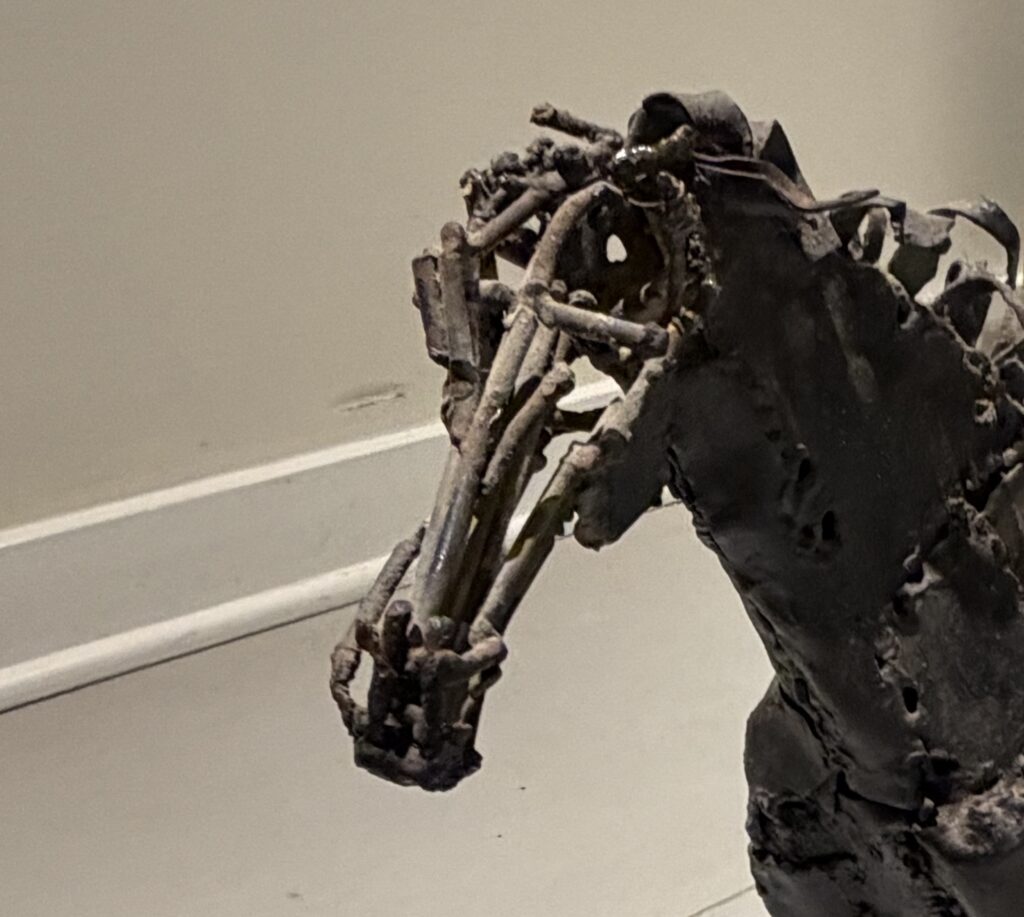
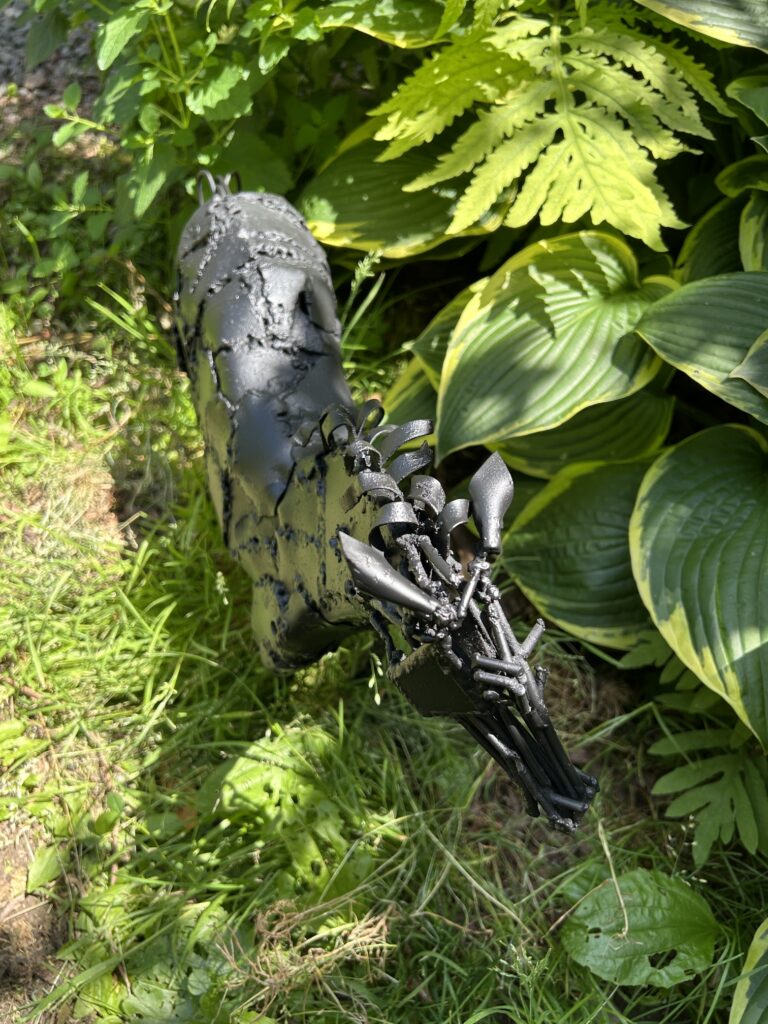
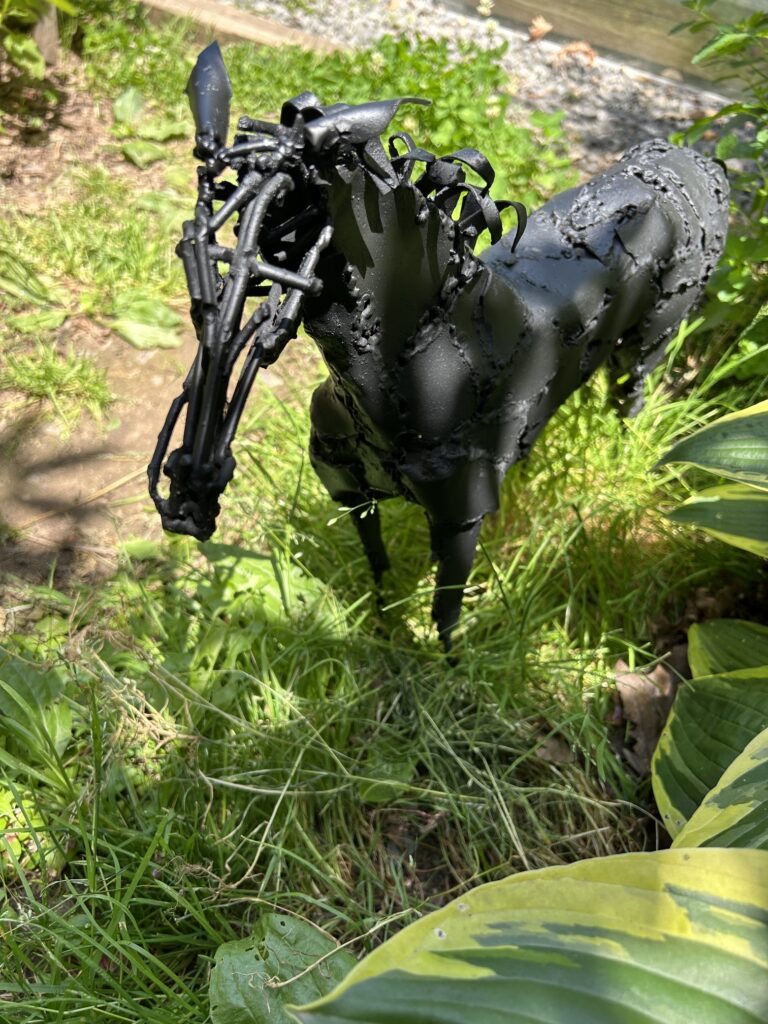
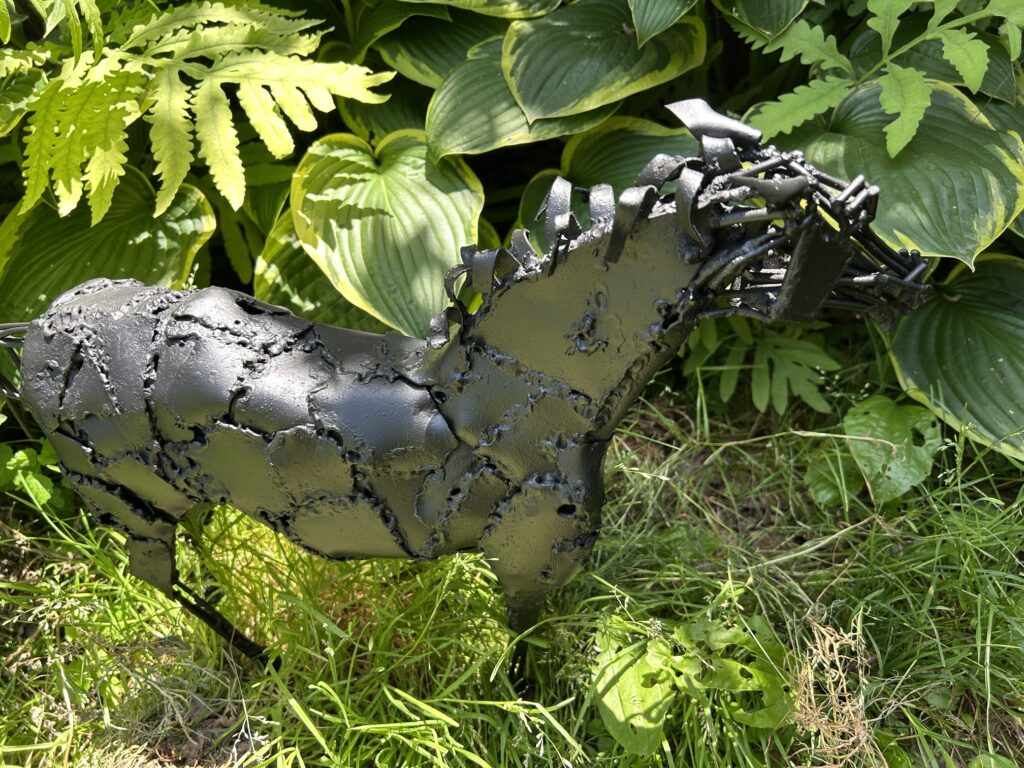
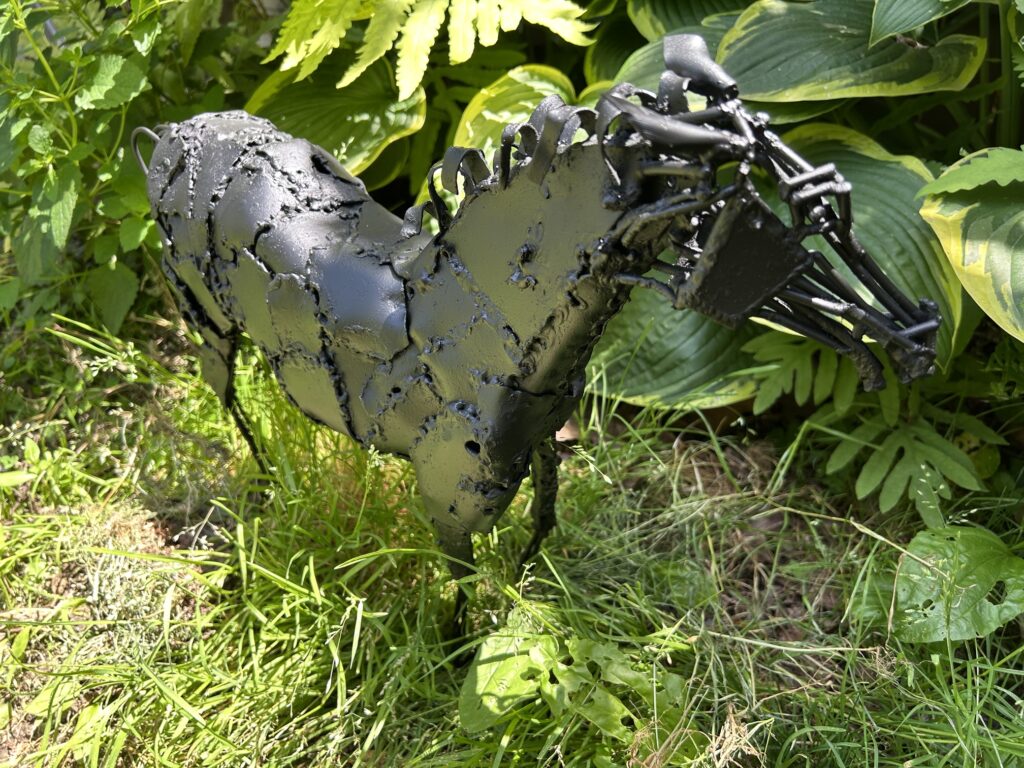
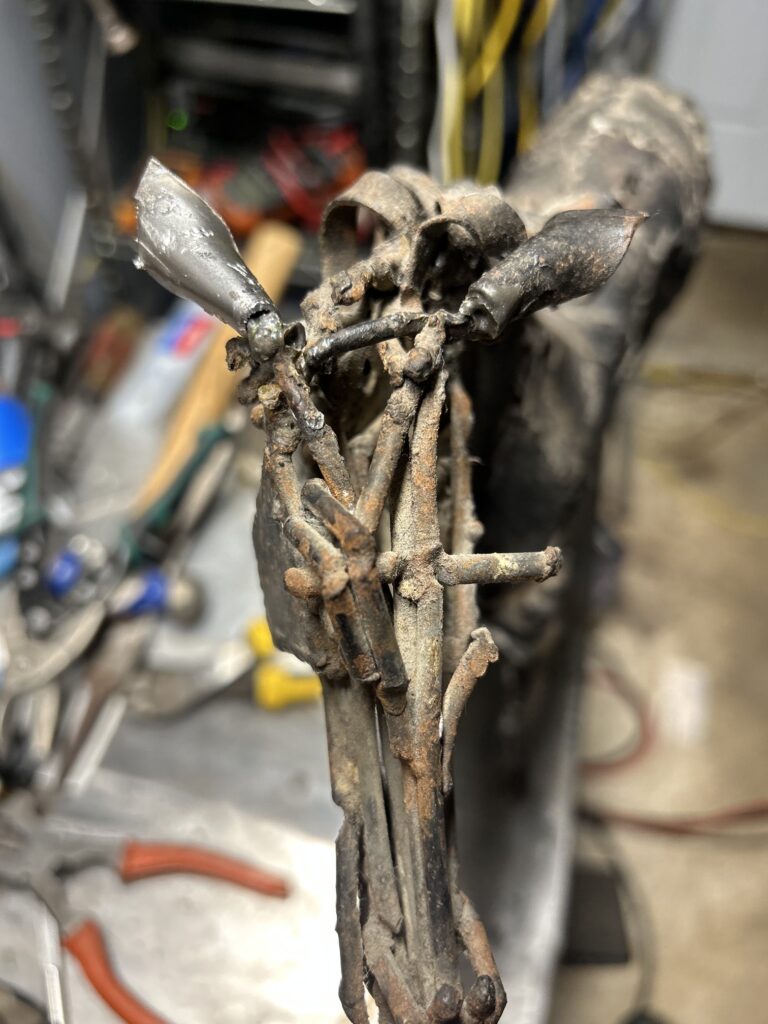
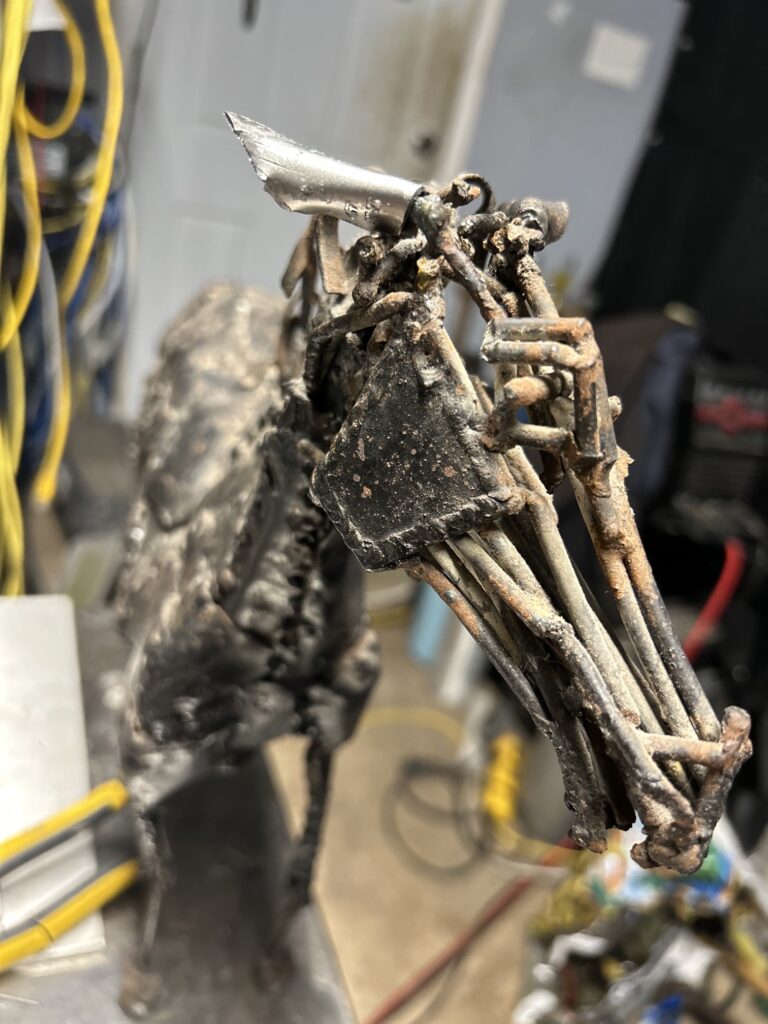
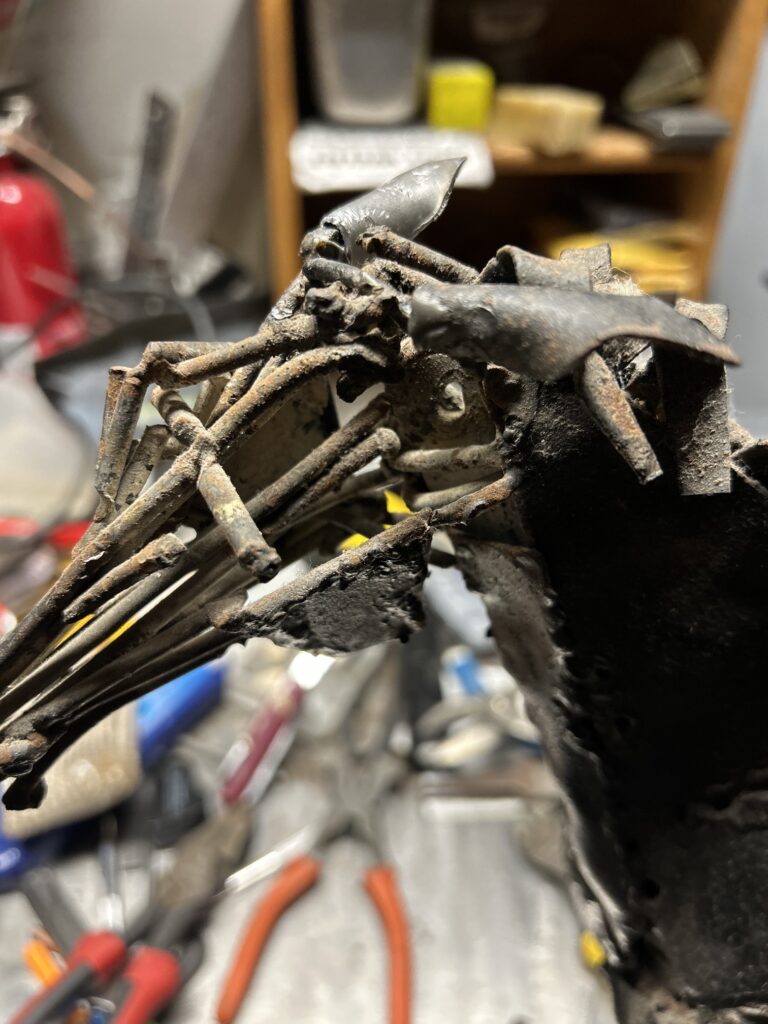
It always feels good to help preserve valuable family memories and heirlooms. When this little metal art horse sculpture was brought to me – one ear was missing -and the other was barely attached.
Seeing as how I wanted to preserve the original character of the piece – I fashioned a new ear using similar methods to the original (I had to study the remaining ear and then determine how it was made) – and then re-attached the new and old ears using similar (in style) welding techniques to obfuscate the repair.
It turned out really well – and I was quite happy with the match. No one – except a few people in the know – will ever be able to tell that new work was done.
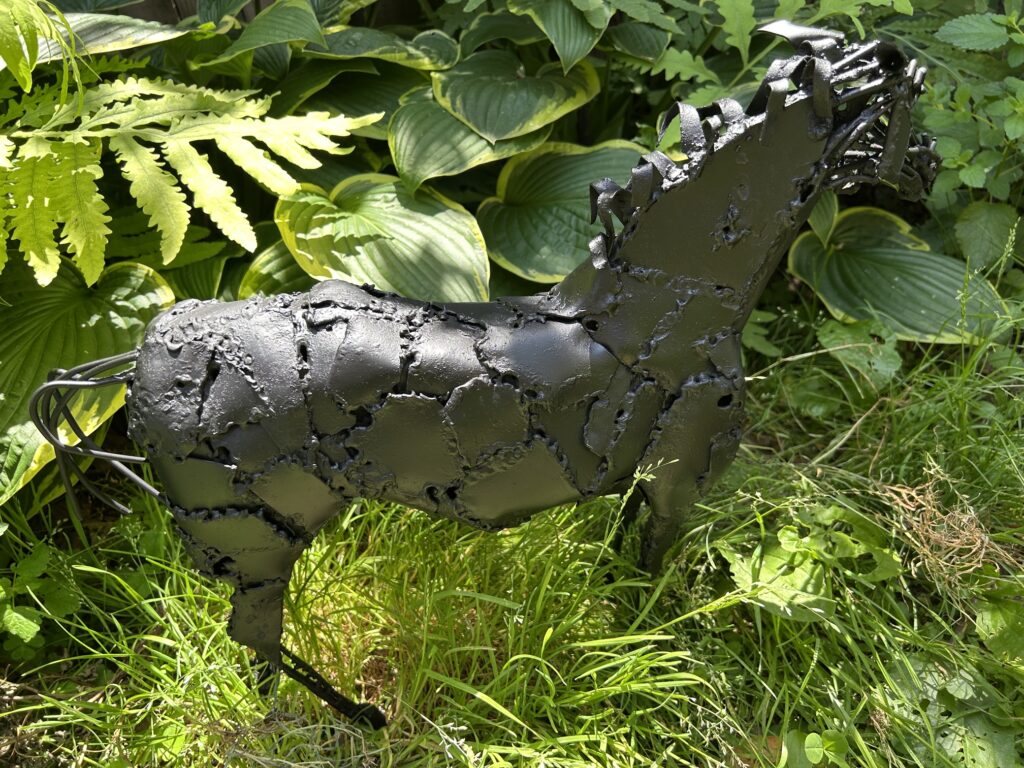
In the end – I gave my little friend a fresh cleaning and a few coats of paint – and set it out to graze for a few pictures. The item is now safely back home with the great grandson and his wife – who are the caretakers.
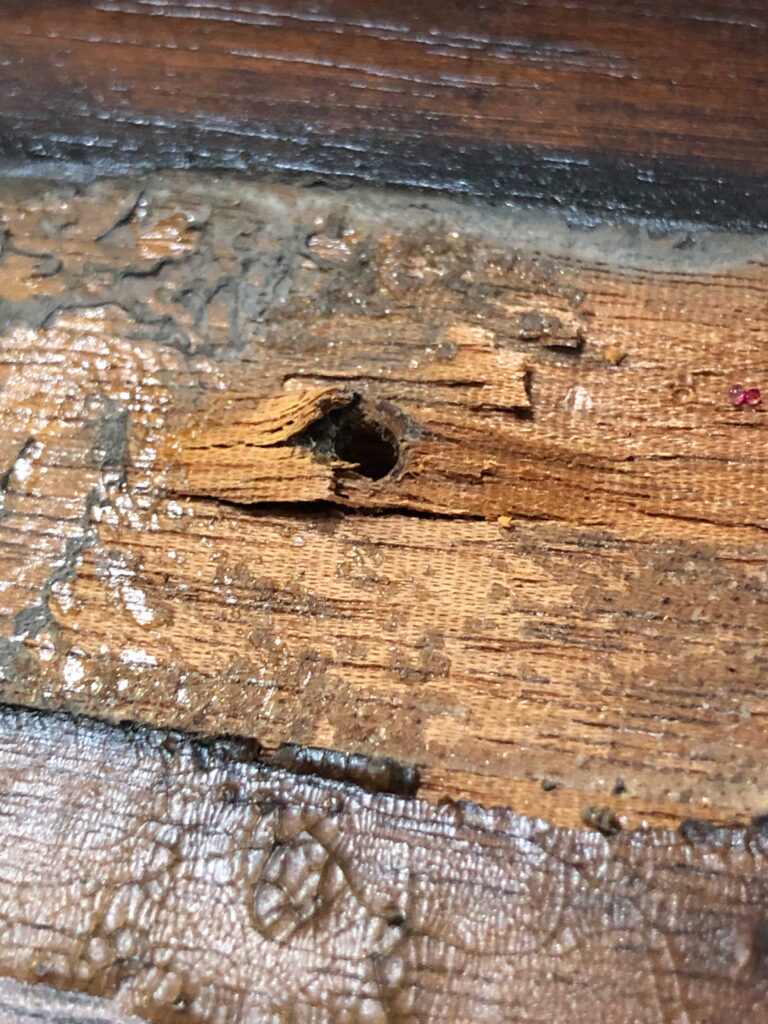
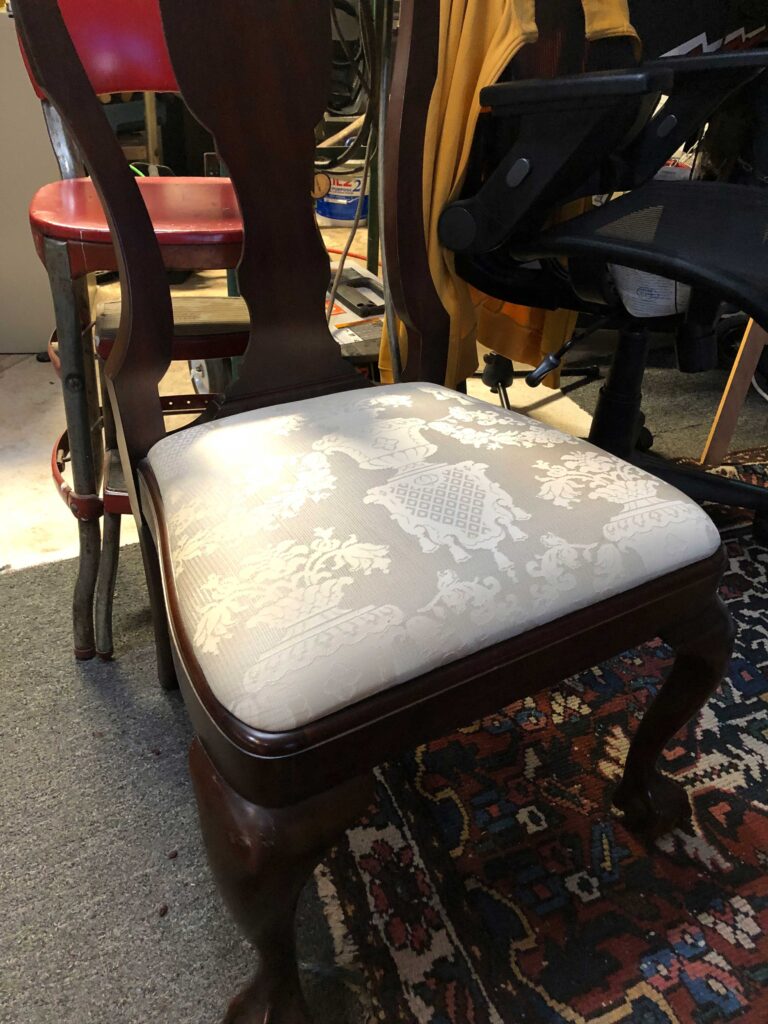
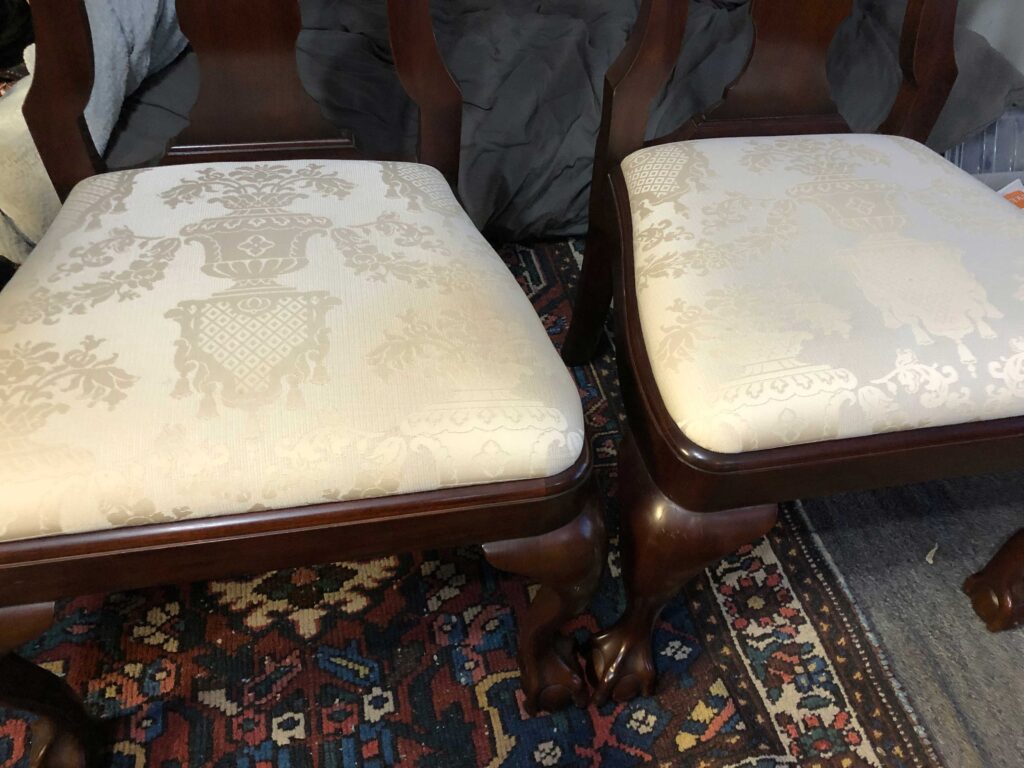
After decades of great service – this pair of Henkel Harris Dining Chairs needed some love. It was nothing major. On both, the glue had failed where the seat meets the back – and the chairs had become loose and quite wobbly. The support screws holding the back to the seat had been tightened as far as they would go – and they eventually stripped out of the wood.
The backs were gently removed from the seats, the screw holes were rebuilt and filled completely with new wood, and sanded smooth. The old glue was removed and new glue was applied to the dowels, which were still in very good condition. The seats and backs were rejoined, and at last check, they were back in service around the dining room table.
Another wrought iron, steel, metal glider rocking chair has been returned to service! I love saving these old chairs.
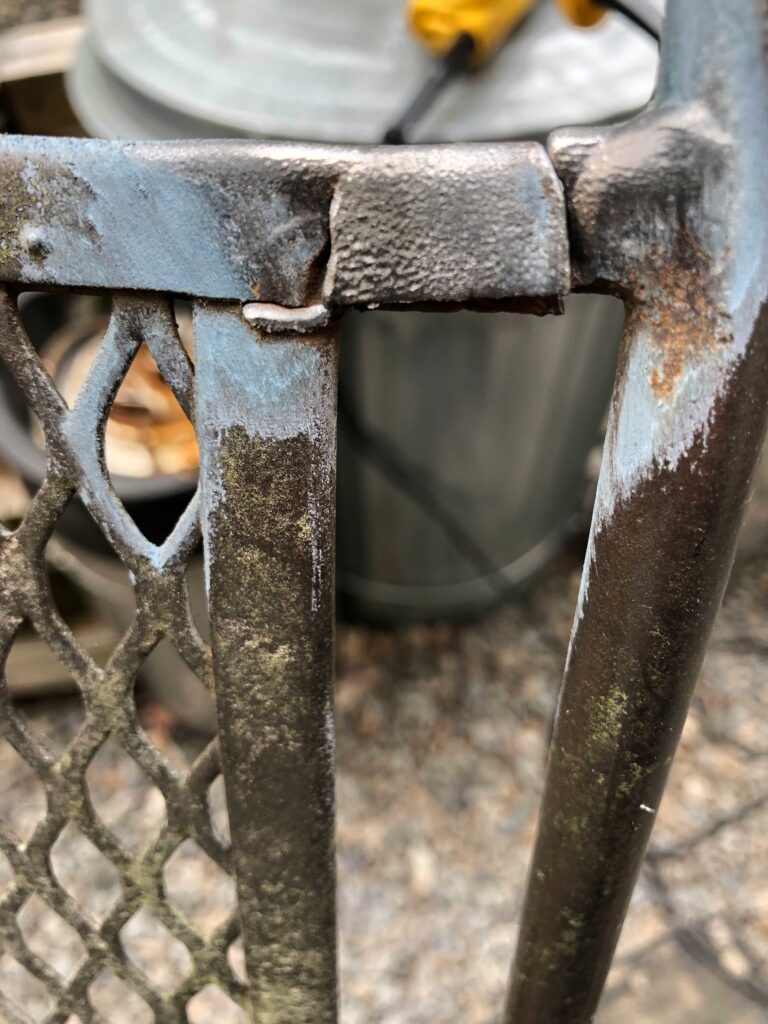
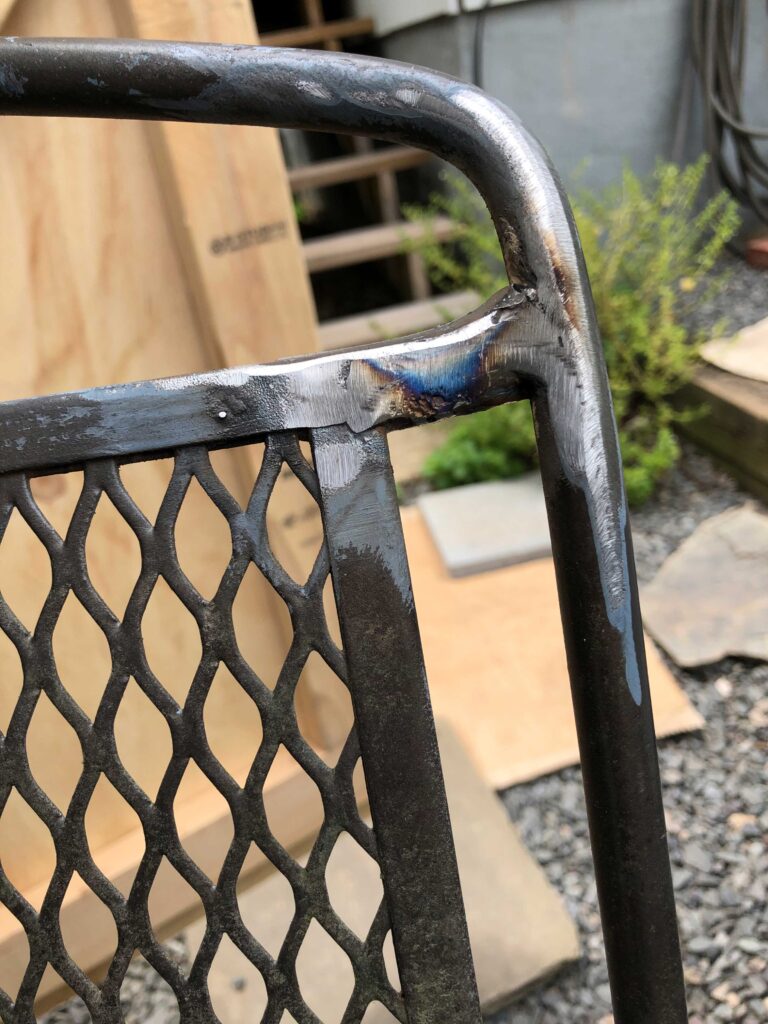
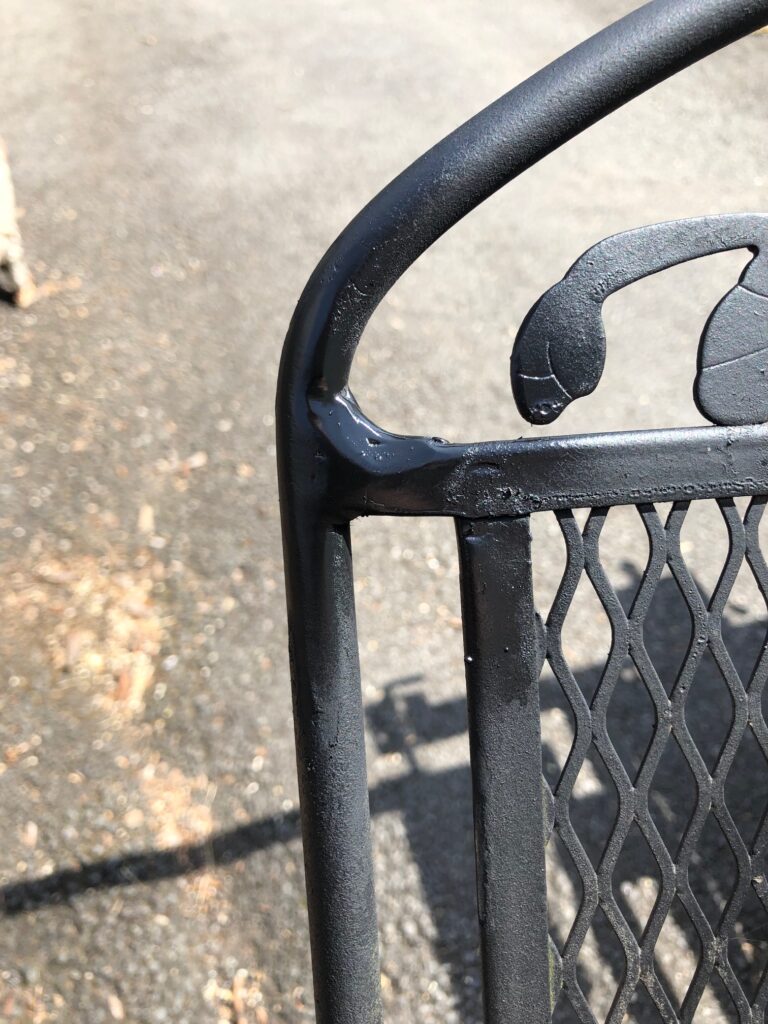
Outdoor patio furniture that is made to last – but still needs some help every now and then. Both upper corner joints needed to be rebuilt, where new solid steel inserts are fabricated and joined to the rear of the chair. The broken joints are then blended into the inserts, creating a durable repair that hopefully will outlast the life of the chair.
This is a very common area for damage on these chairs – and I’m glad I’ve developed a great solution for bringing them back to life. Hopefully to be enjoyed for years to come!
We get several calls for repair concerning these older metal gliders and rockers.
The newer models are made with thinner, hollow, folded metal frames which hold the expanded metal backing – rather than solid metal. Most of them seem to fail in pretty much the same place at the upper joints along the back.
In either case, hollow or solid, the metal can get overheated during the initial manufacturing process and will fatigue and break near, or just after the welded joint. Once the metal has fatigued to this point – it can’t simply be welded again and rejoined – as the heat required would further fatigue the metal and start the process all over again.
This chair is one of three that we’ve been contacted about in the last month, all with breaks in identical locations.
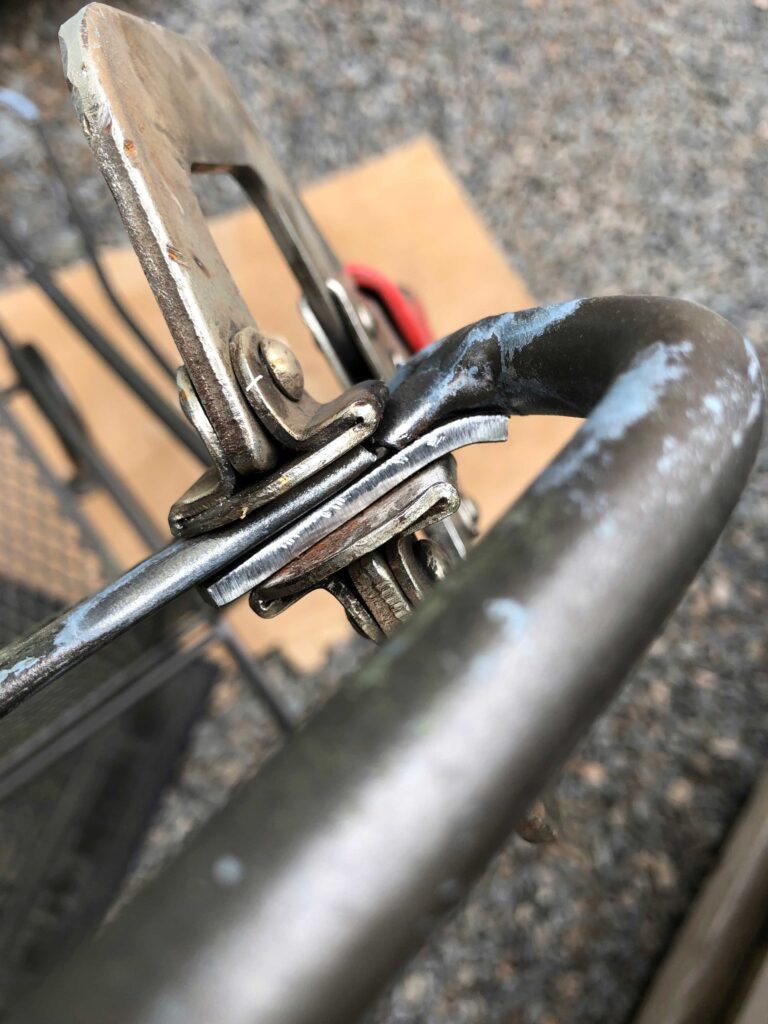
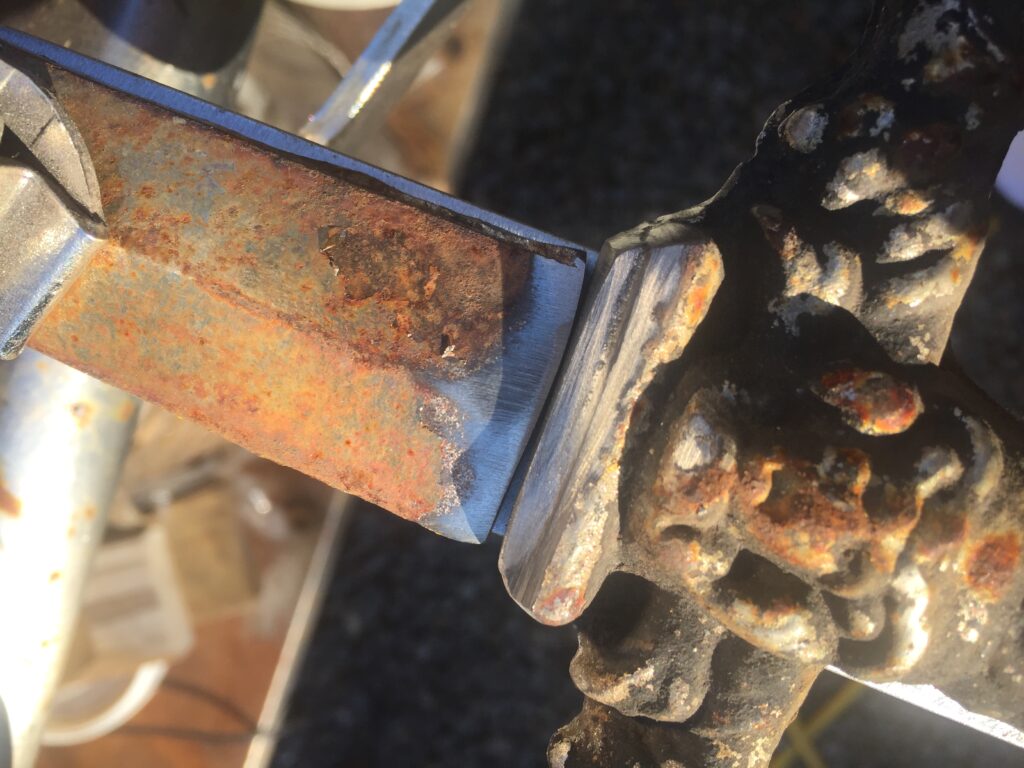
In each case – a metal strip has to be fabricated and placed behind the break, where it is joined with the original metal. With this method, most of the weld heat goes into the new solid metal – and the older metal is covered and incorporated into the new joint.
This process creates a new, longer lasting joint that should meet or exceed the lifetime of the chair.
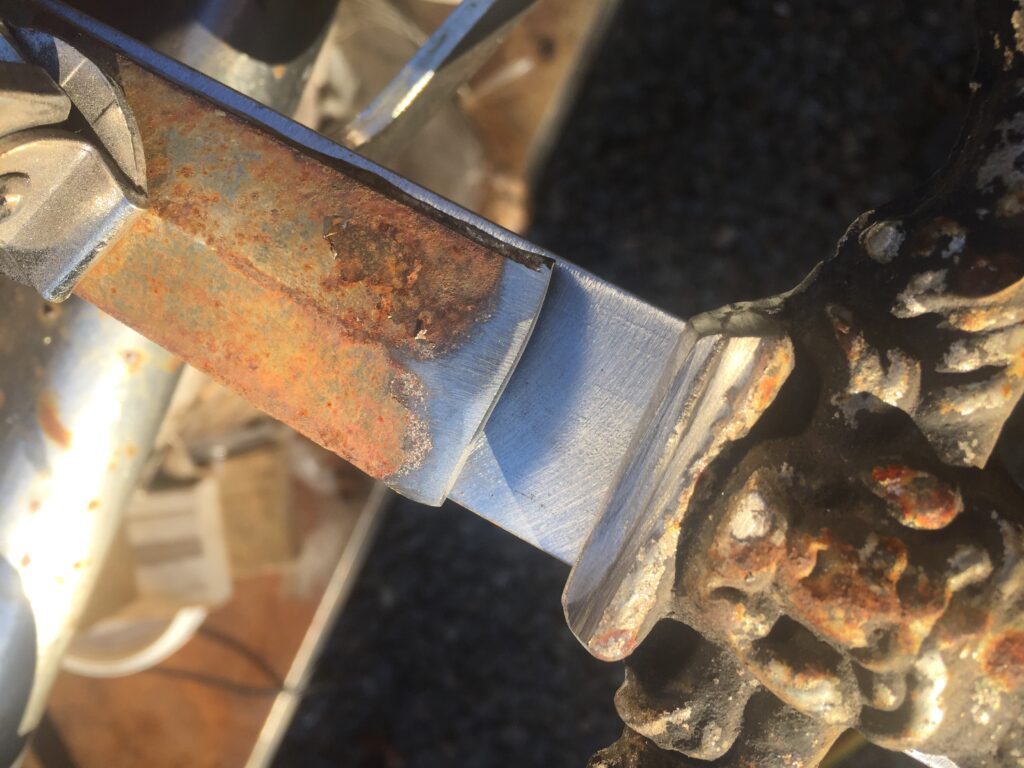
Rear of the chair showing the metal tab insert. Front of the chair showing where the original metal is blended with the insert.
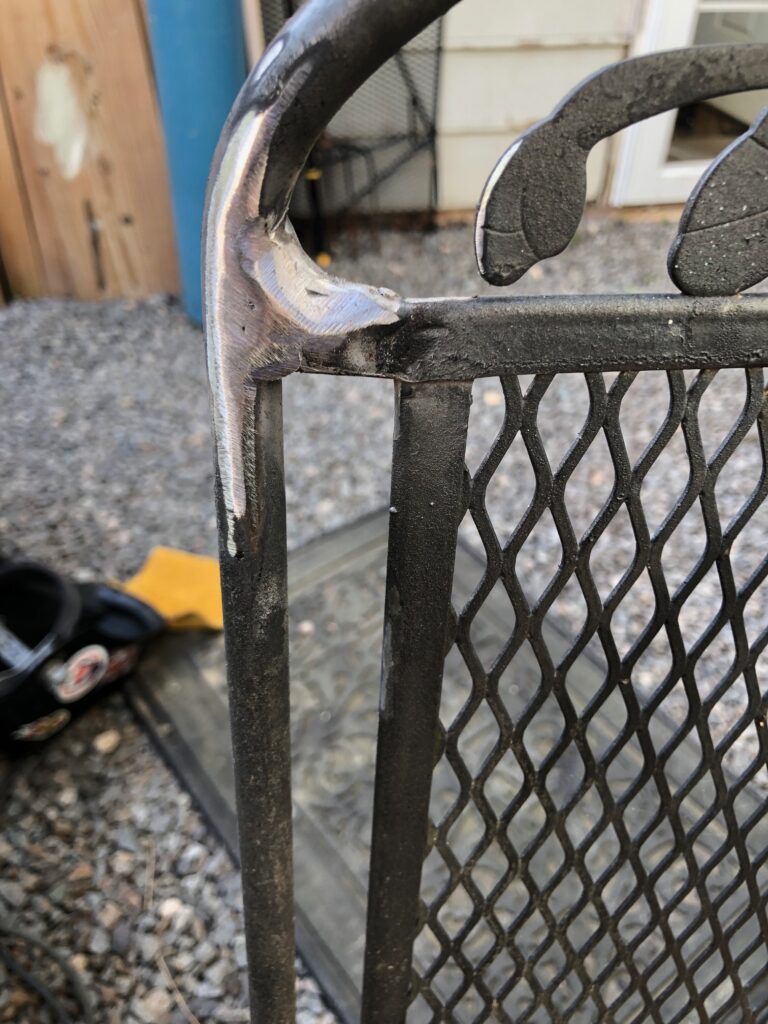
Some things to keep in mind: The repair is not going to look like the original joint. It will usually be “beefier” for lack of a better term. Also – much of the surrounding finish will have to be ground off with a wire wheel or sanding disk – and the heat from the welding process will damage the paint in the immediate area of the repair.
More may flake off post-repair. Just be aware that the chair is going to need some TLC afterward to hide the repair, as the whole process damages the existing finish/color/patina.
Given the metal fatigue – and the nature of the metal – they can’t just be “welded” – as the heat would just make the metal weak and the weld would likely fail again.
It requires the addition of a small brace piece of metal backing between the breaks – that is solid and can take the welding heat. Then the chair metal is joined to the brace. This process adds to the cost of the job. While not exorbitant, there’s is nothing “cheap” in the welding process. Every little thing adds up – in time and cost of expendables. We’ll happily provide fair and honest estimates for free.
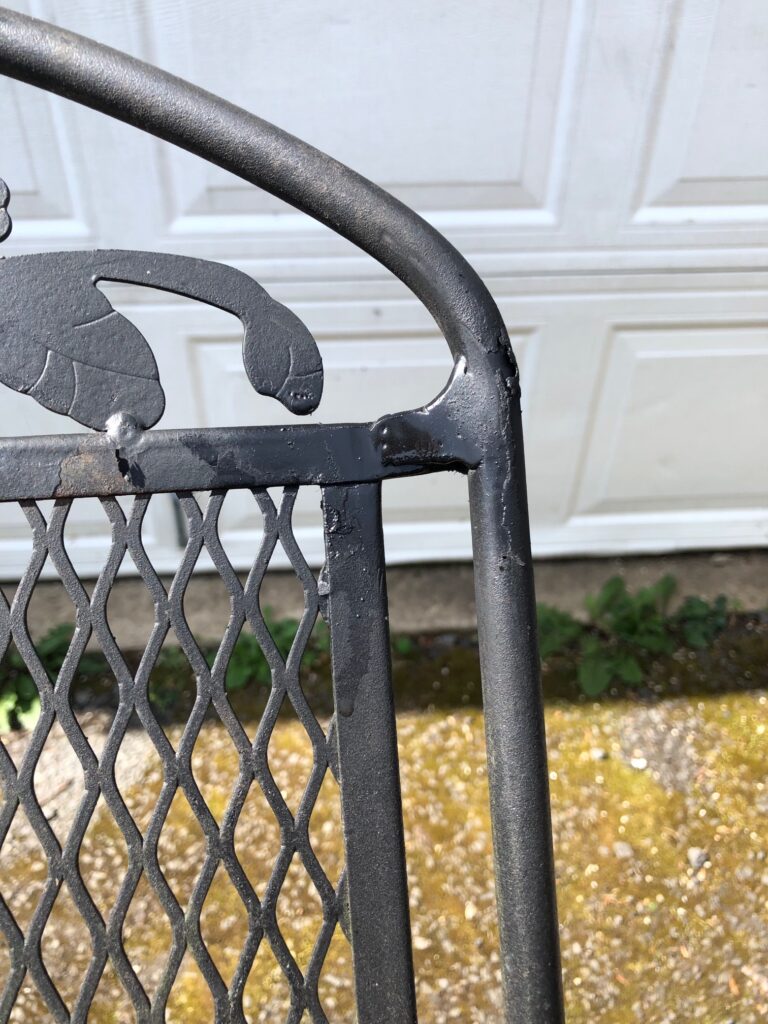
This makes a lasting repair – though – maybe not an entirely pretty one – but one that is hard to notice once the chair is painted, and will last, creating value and rescuing an other wise functional “deck favorite” chair – which will hopefully be useful and comfortable for years to come.
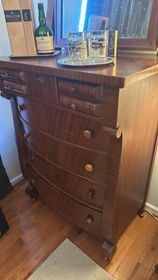
Repair of broken dresser drawers and loose table legs
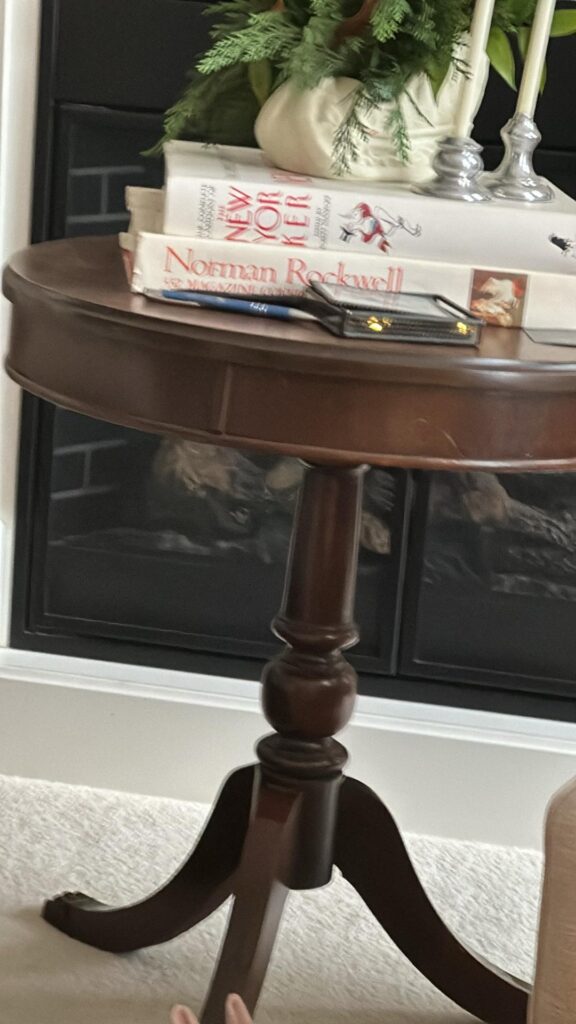
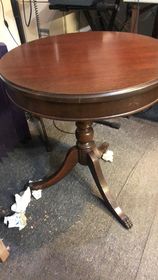
A vintage dresser needed some mending and a small lamp table needed to be refreshed.
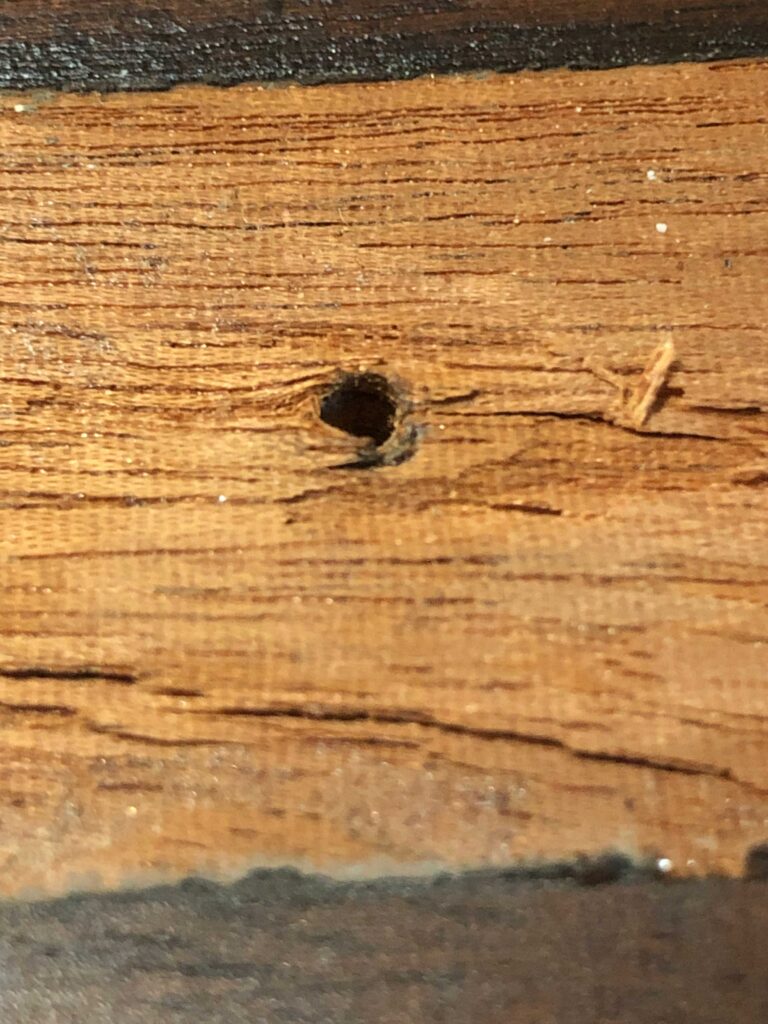
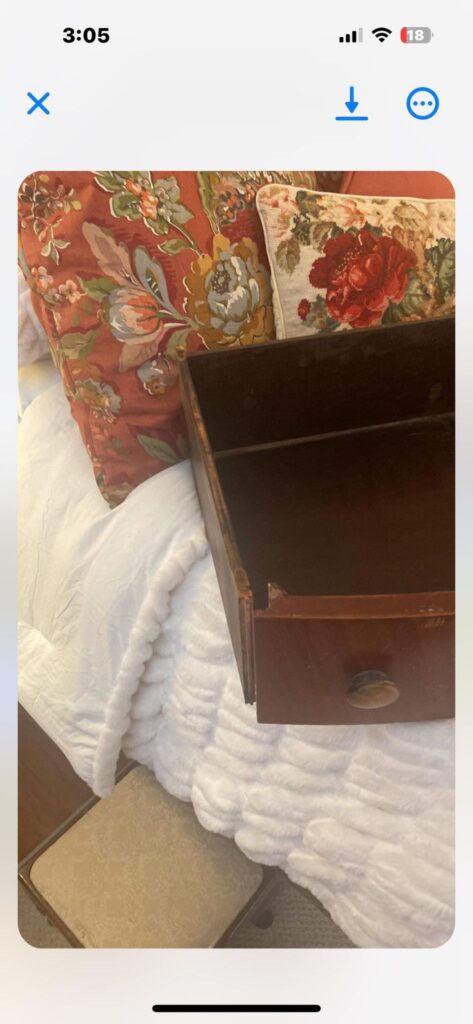
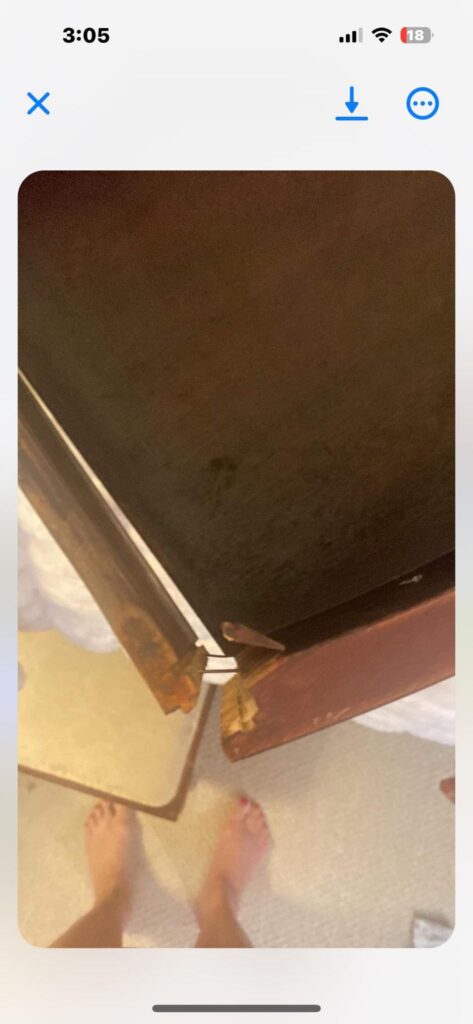
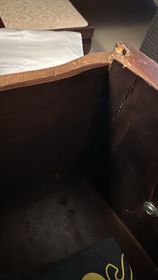
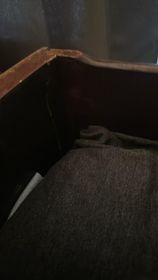
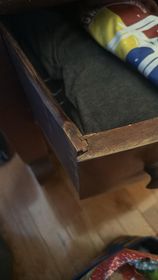
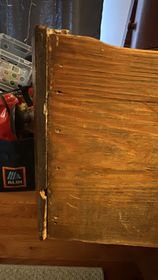
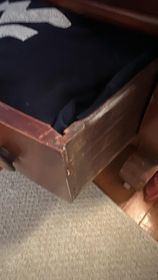
The dressers drawers were damaged during the last attempted repair – as someone used a pneumatic nailer and shot nails into the edges – which fractured the laminate on the inside of the drawers. In this case – short of a complete tear down and rebuild – the cure felt worse than the damage – so they were partially disassembled – cleaned up – re-glued and then reinforced with real nails on the corners.
The sides were also reinforced with new glue along the underside. Completely rebuilding the drawers would have meant refinishing them – and that wasn’t in the cards. The best choice was to make them functional again. It also saved a ton of time and money.
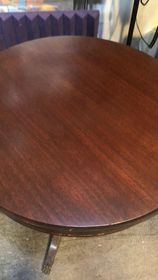
The small lamp table needed a refresh. The legs needed to come off and be re-seated – the base needed to be removed and reinforced and the top surface was redressed to eliminate surface scratches, nicks and bumps. The claw feet needed to be supported as they had worked loose. It was a short job – and it’s ready to be returned to service. Once again – the most bang for the buck – the necessary repairs for the least amount of money. It’s just how we roll!
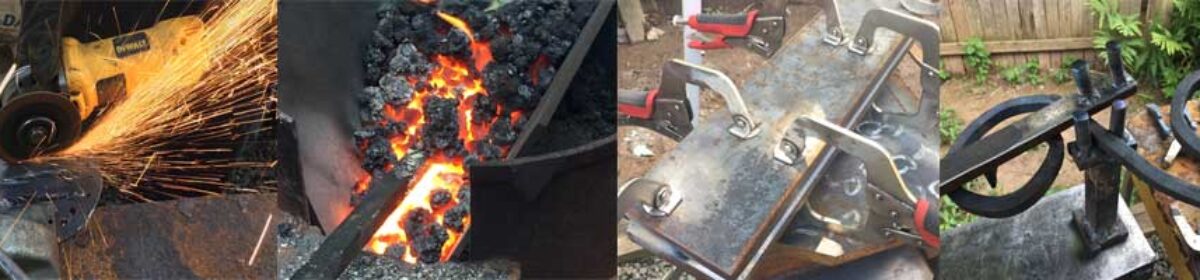
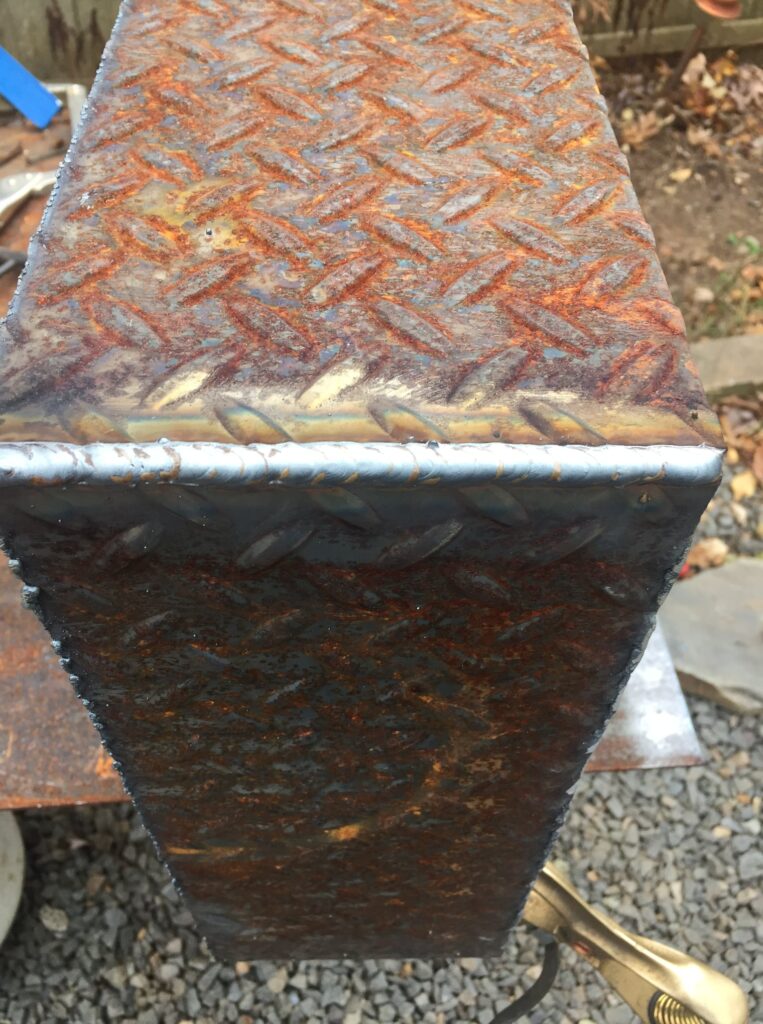
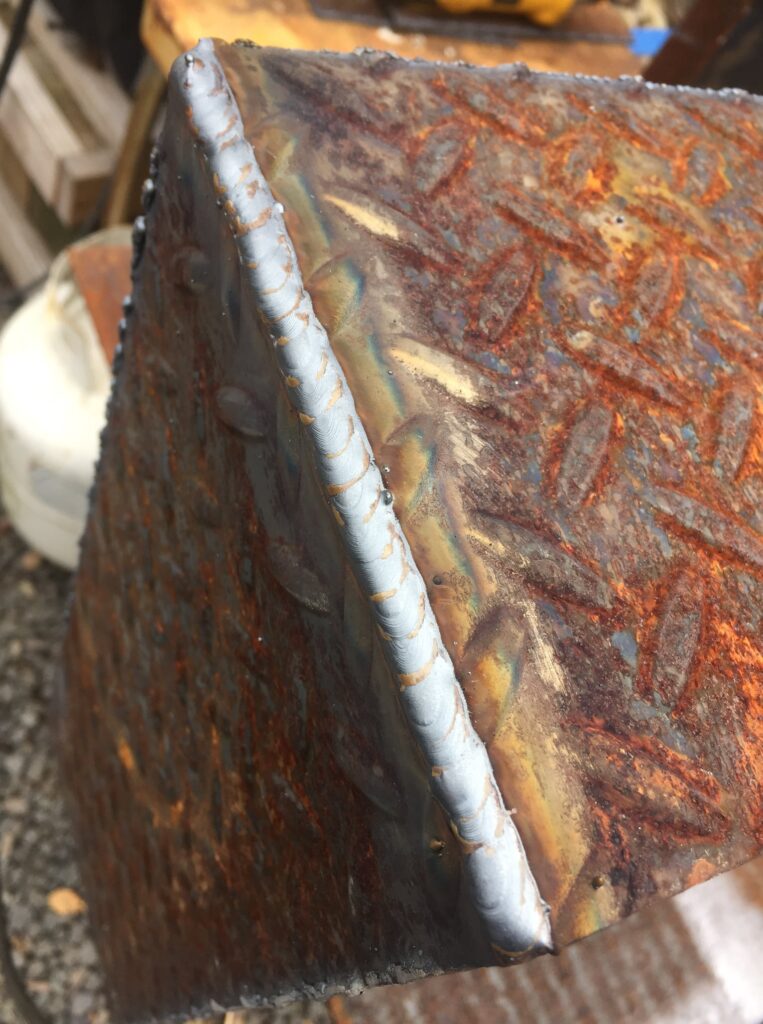
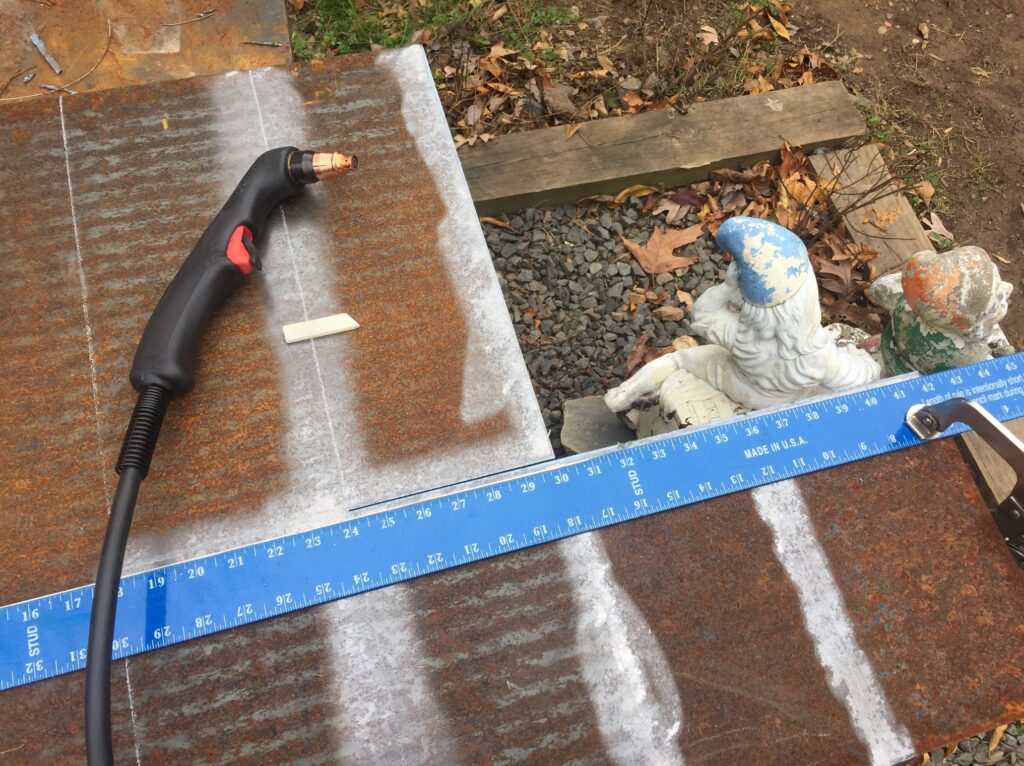
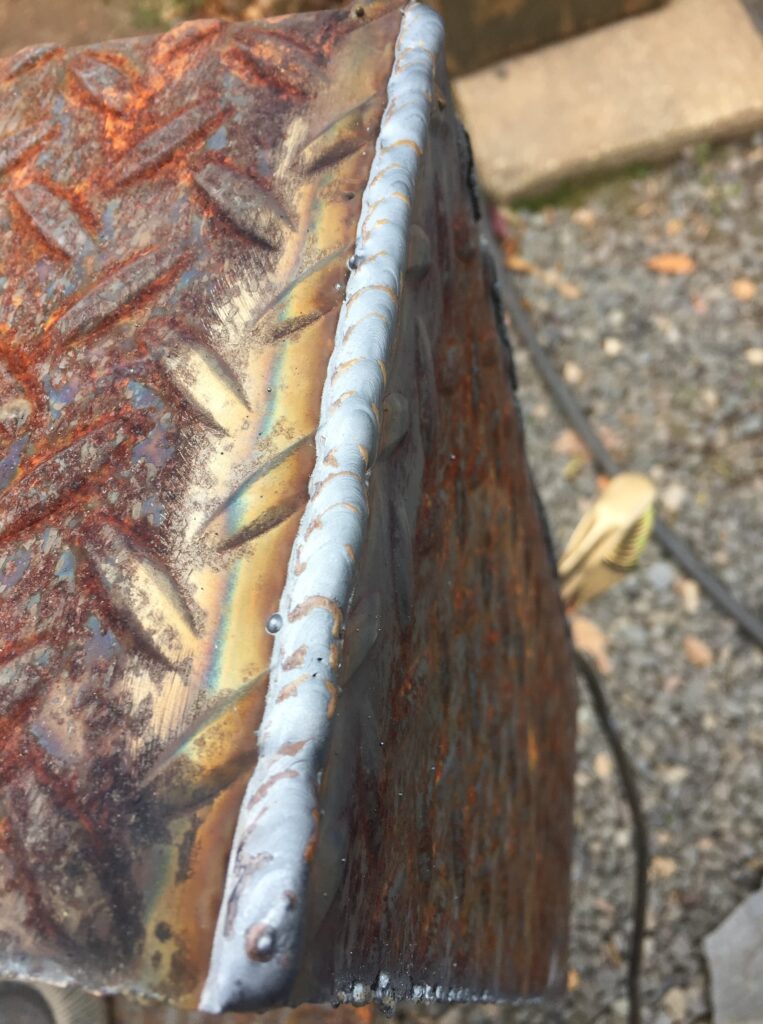
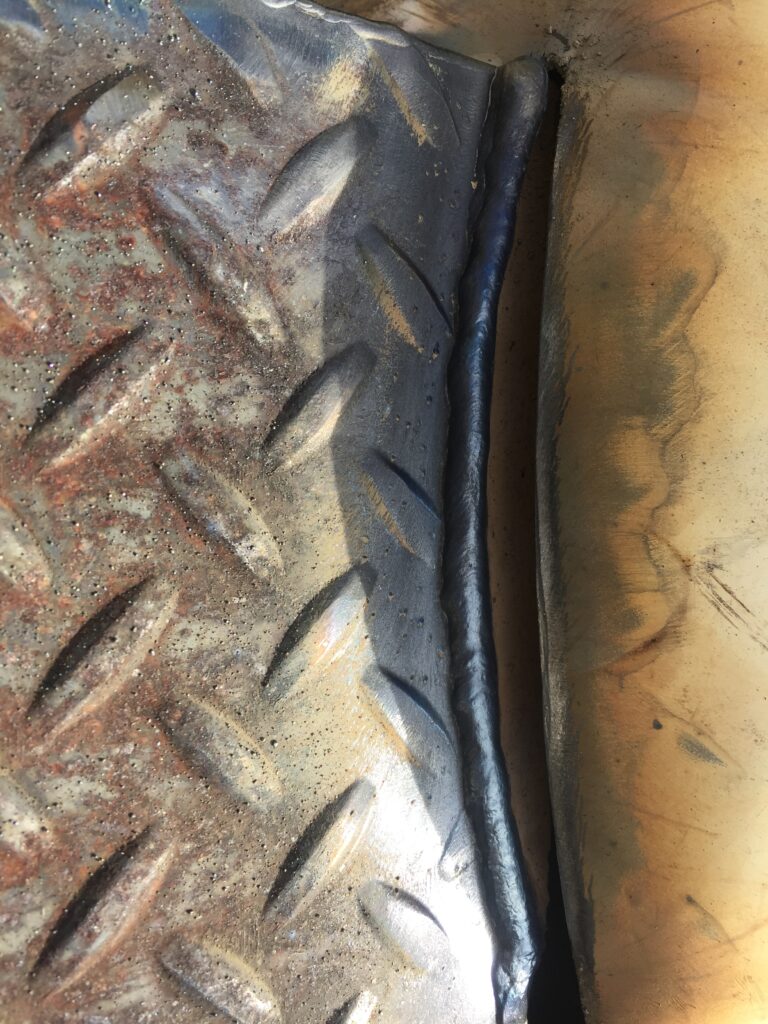
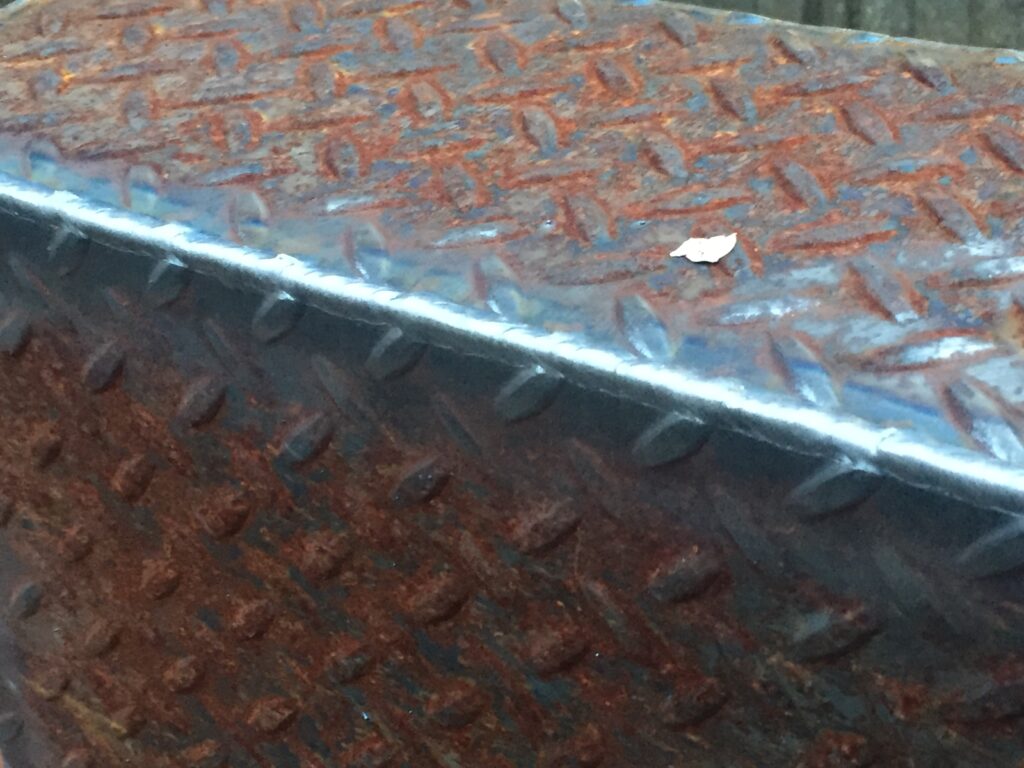
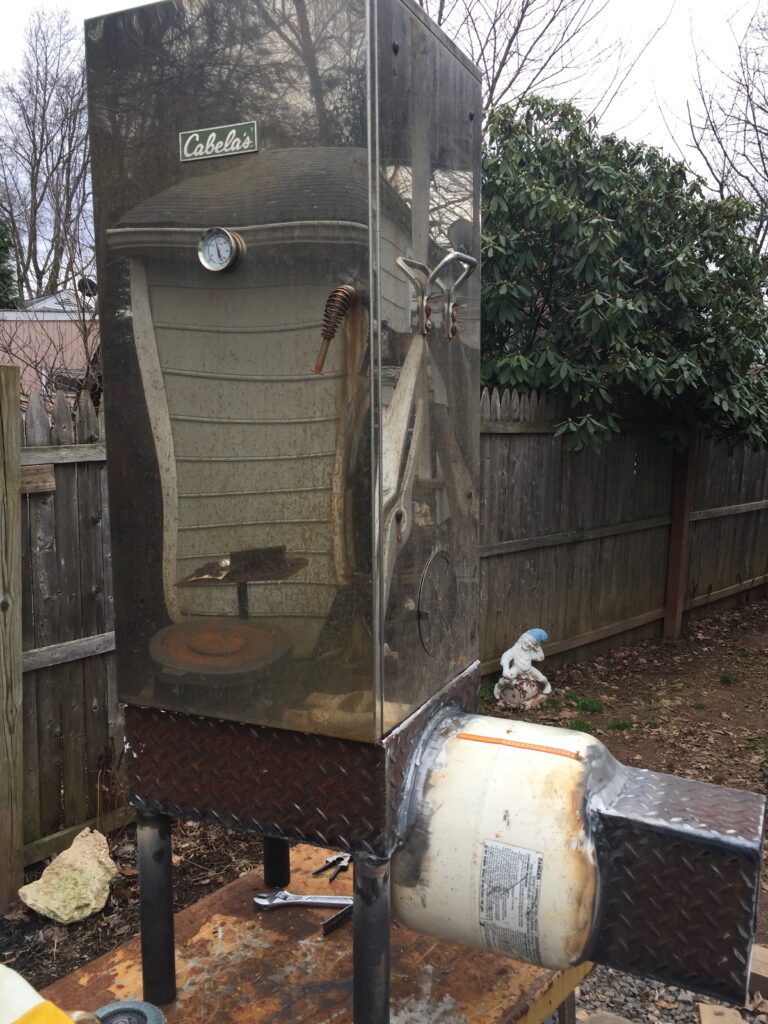
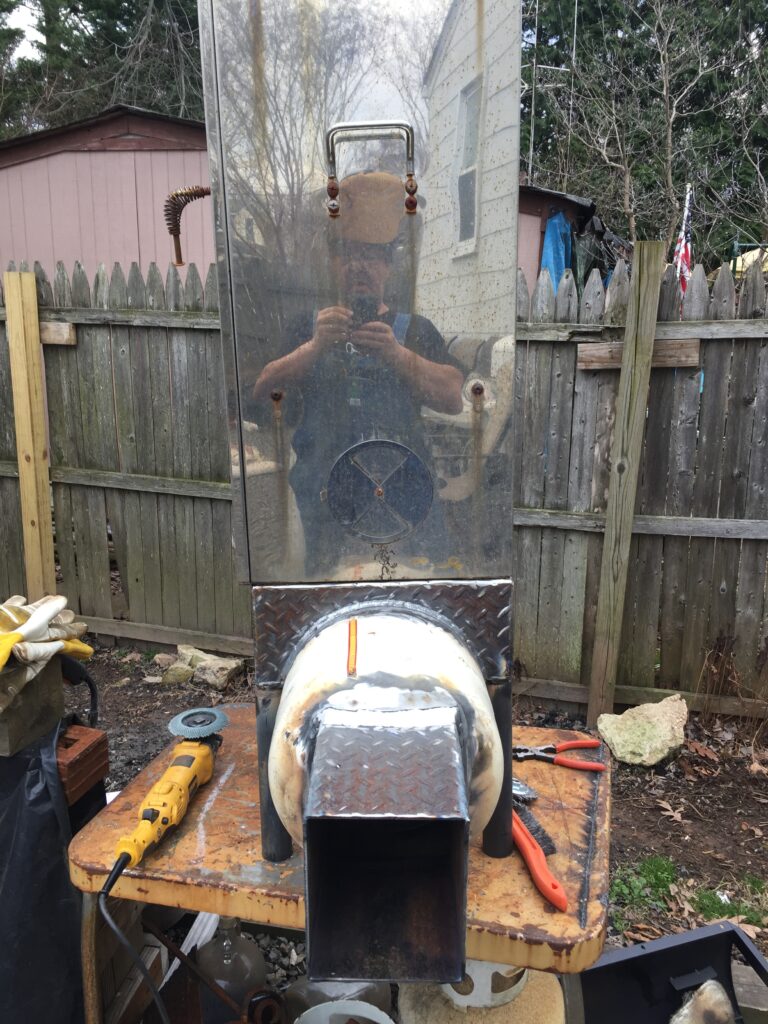
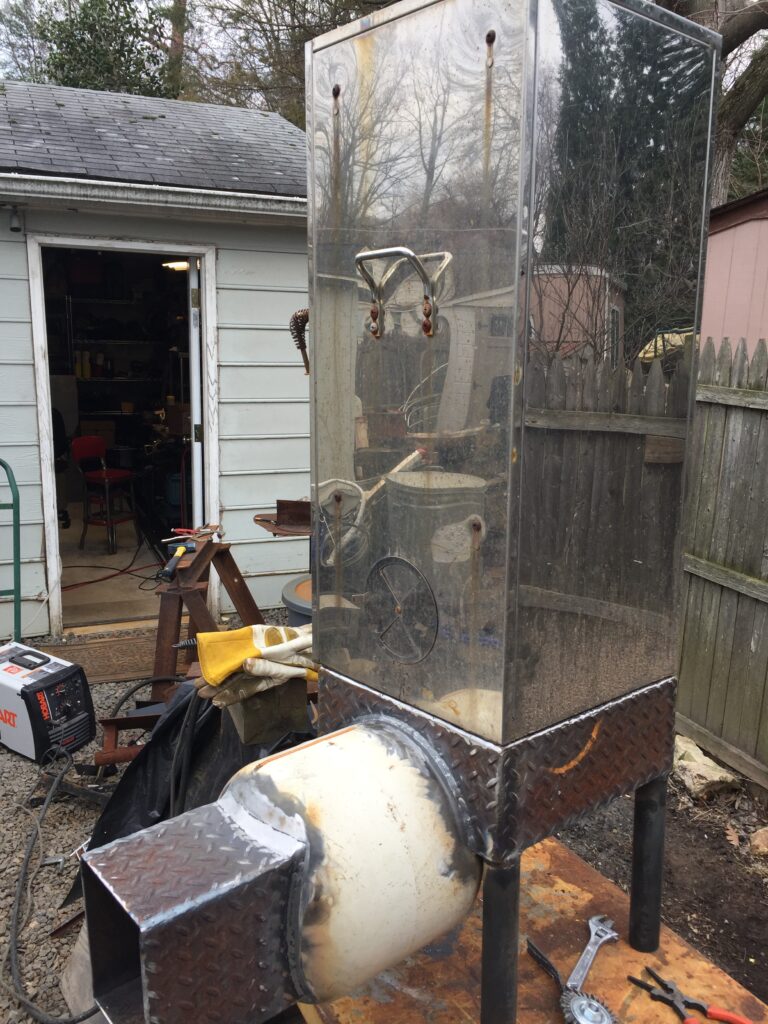
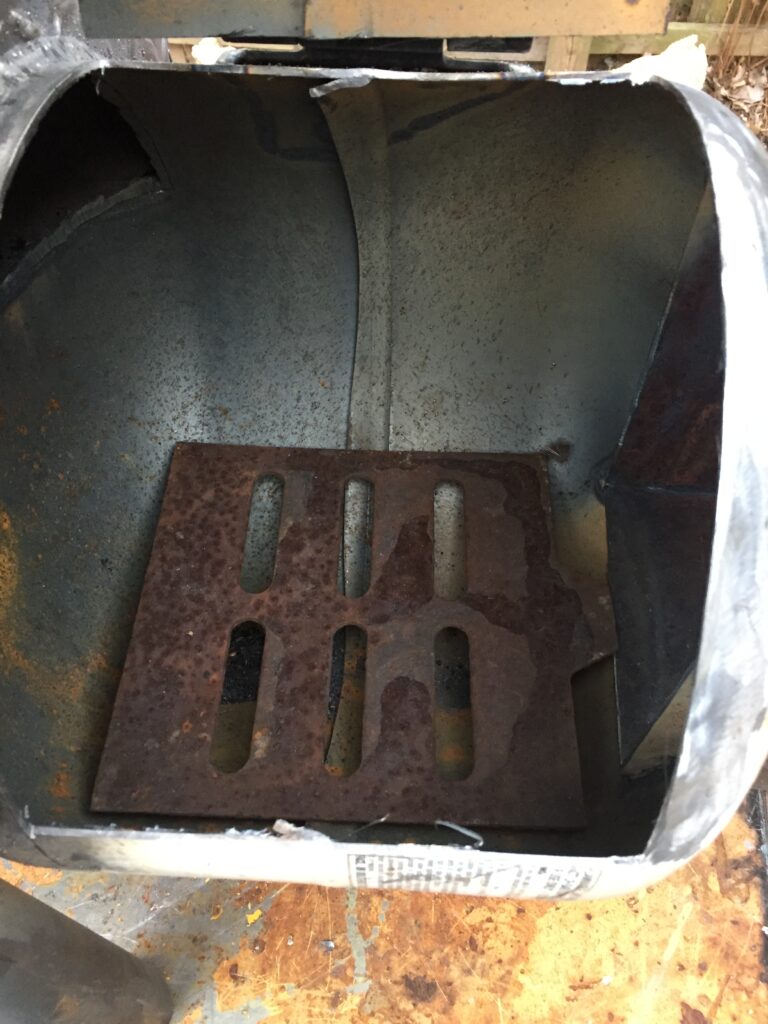
We used some repurposed diamond plate to weld this intake box – somewhat of a manifold – to marry the smoke chamber to the new firebox – in this case – a repurposed 20lb propane can.
We were very pleased with the way the corners came together. The amperage was just right – and the corners laid in without much undercut or sagging – or excessive deposition. The fit-up was a little loose around the firebox – so some intentional buildup was required there. Flux core .045 was used for the buildup.
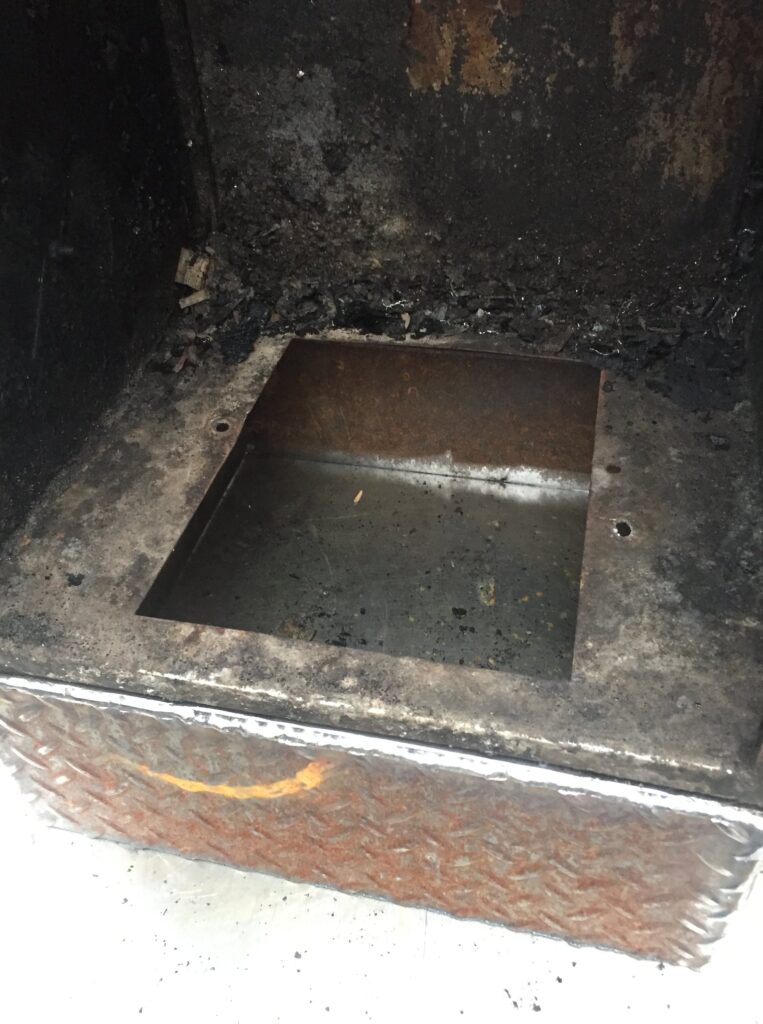
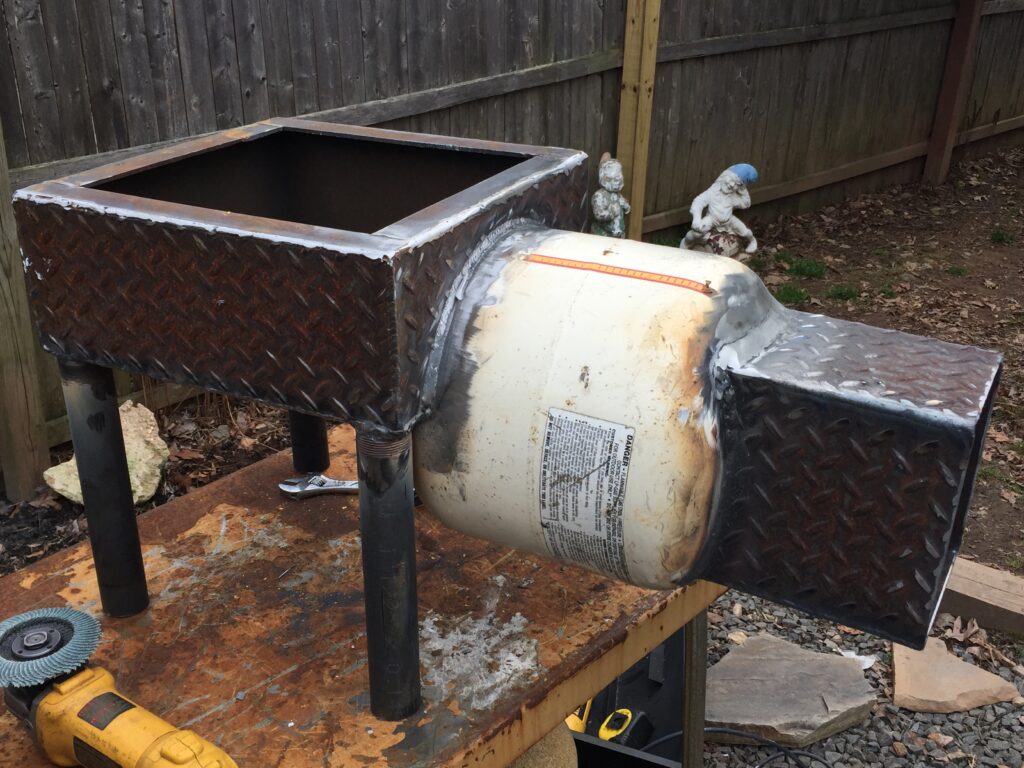
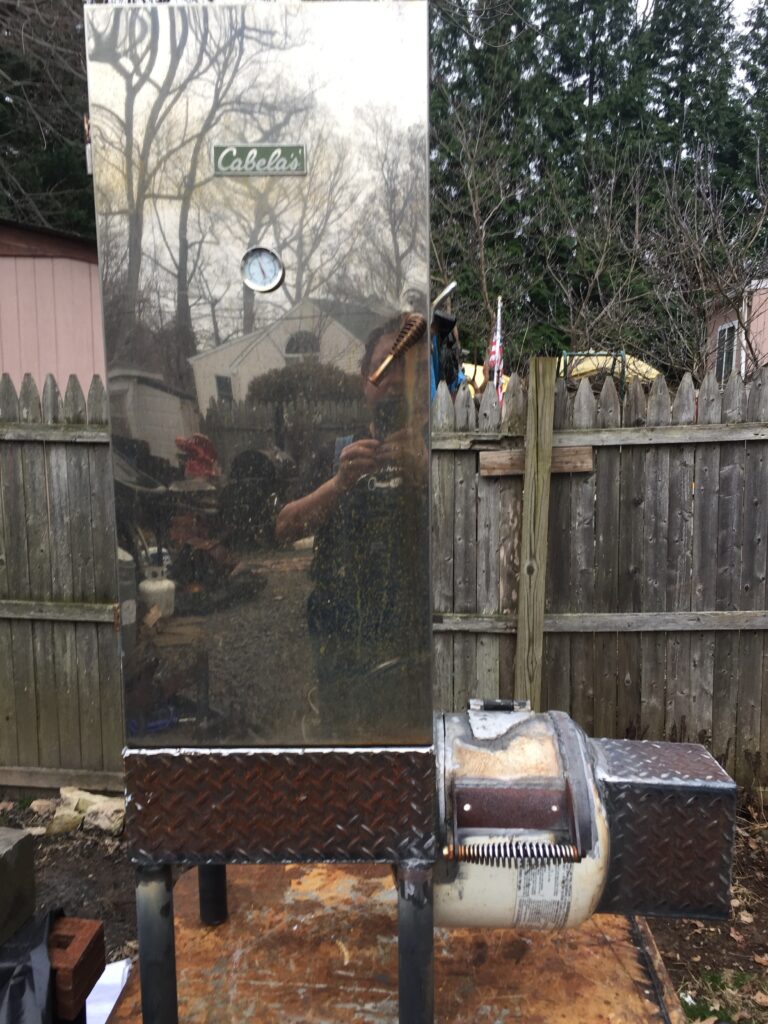
The corners were done with .030 wire and a 25-75 gas blend. In the end – we came up with “Franken-smoker” – which is half smoker – half jet stove by design. You can feed it full length logs without the need to constantly open the chamber – and can rev up the conductive heat to finish full size roaster chickens in under 2 hours – or turn it back and run it low and slow – to put out very gently smoked shoulders.
Here it is – almost fully trimmed. The Frankensmoker. All repurposed or up-cycled parts. We start it with competition coal and then use wood to complete the session.
A great primer for keeping your stick welding game on point.
This video covers several different welding processes and electrode varieties. E-6010/6011 – E-6013 – E-7018 Welding Polarity and positions – Uphill/Downhill – Vertical and Horizontal Electrode Composition Puddle observations and recommendations – arc gap, as well as amperage, rod angle and travel speed variations for deeper penetration or material build-up and deposition.
Weld joints are covered too. Butt joints, Lap joints, T-joints and Corner joints. Metal Prep and Fit-up are covered on most of the joints – and there are many recommendations for quality.
There are several great arc shots and puddle shots. It’s a really good overview of the craft and practice.
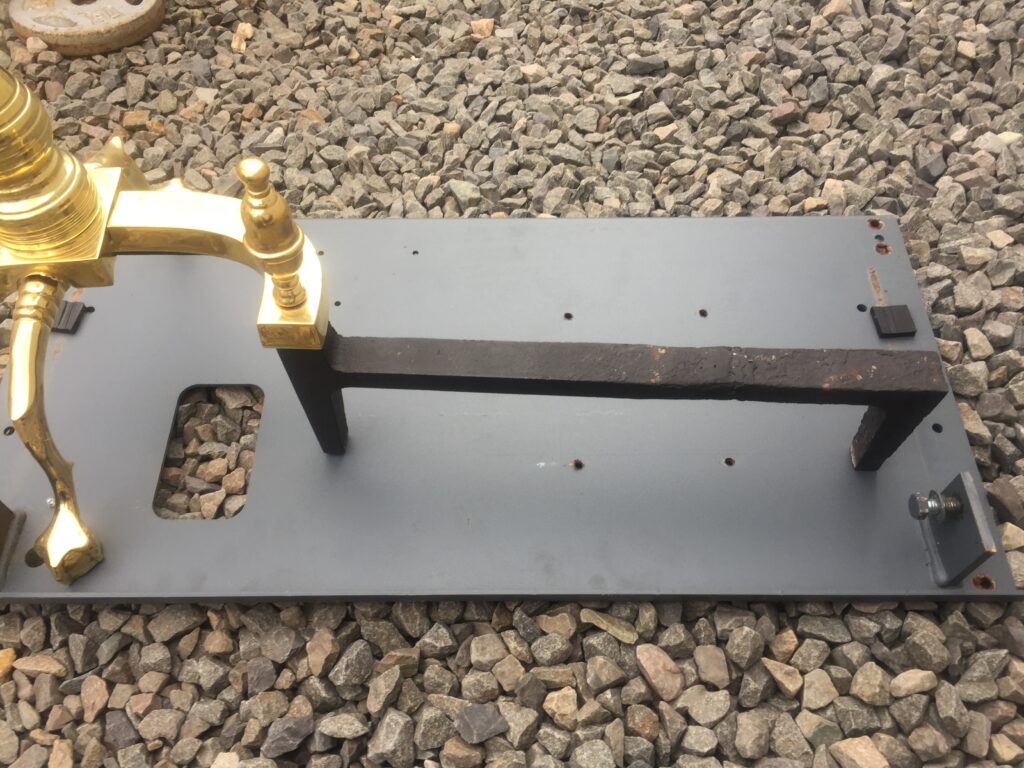
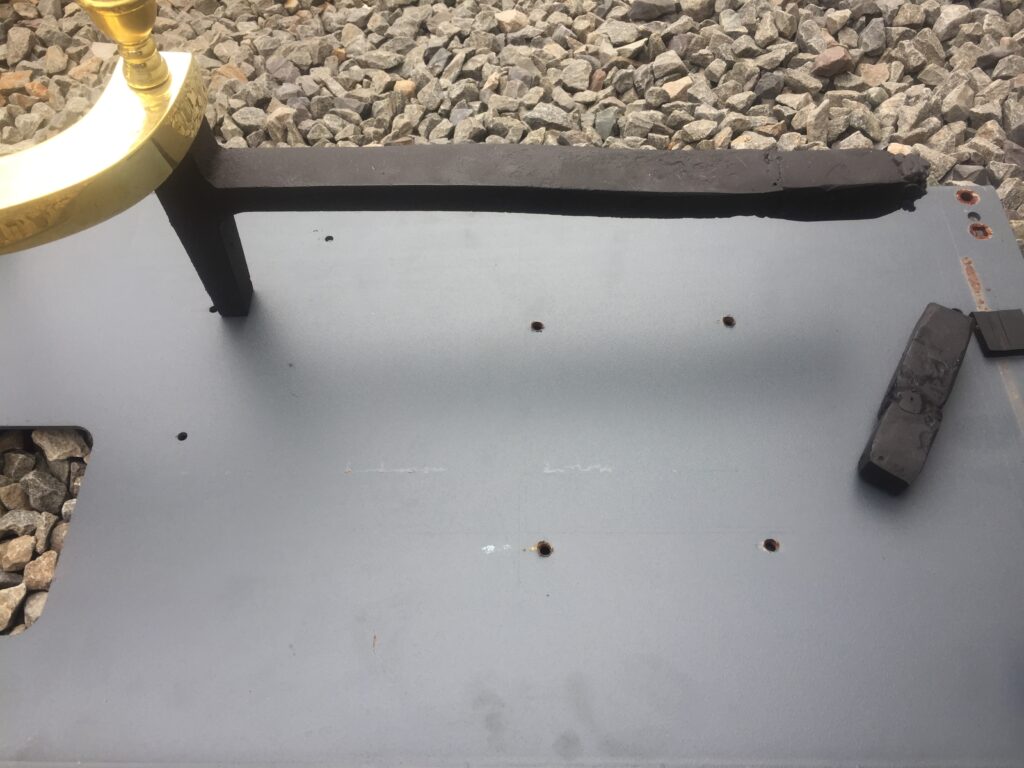
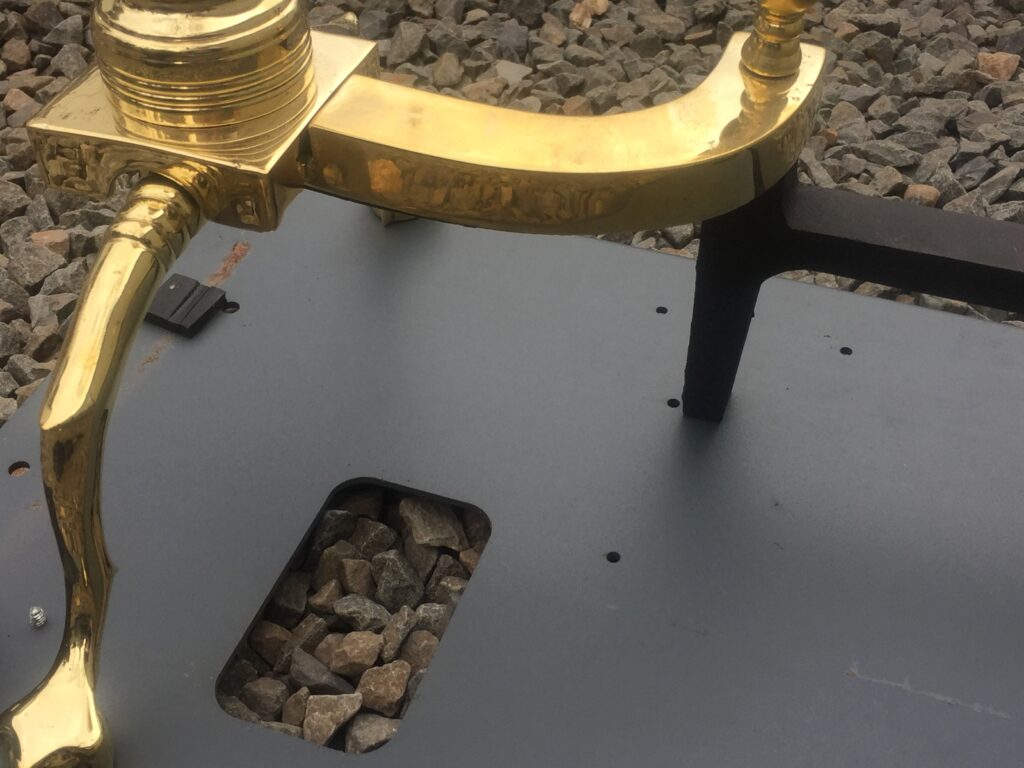
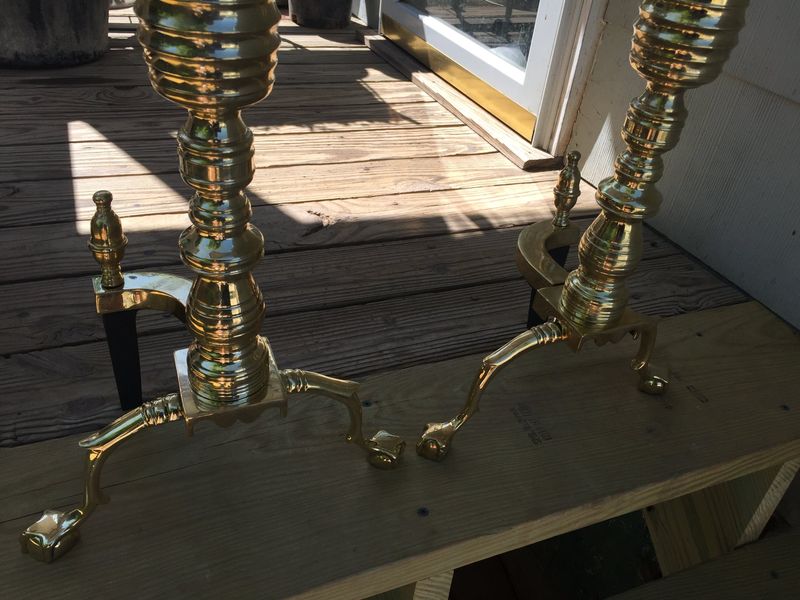
These andirons were moving from a deep fireplace to one that was much more shallow, and they needed to be shortened. The original feet had already been modified once before. Somewhere along the line – the welds of that modification failed – and I was tasked with shortening the length of the bases – essentially removing the broken feet. The andirons will live out their lives as display pieces – no longer being used in an active fireplace.
Palcone – Pal Radio Company – Cast Iron Advertising Display Piece
The handle of the sword got snapped off by the owner. Being cast, it was pretty brittle at this stress point. Silicon-Bronze rod and a TIG torch were used to join the two pieces together and the item was returned to go back on display. Over time – the patina filled in and the repair hardly shows.
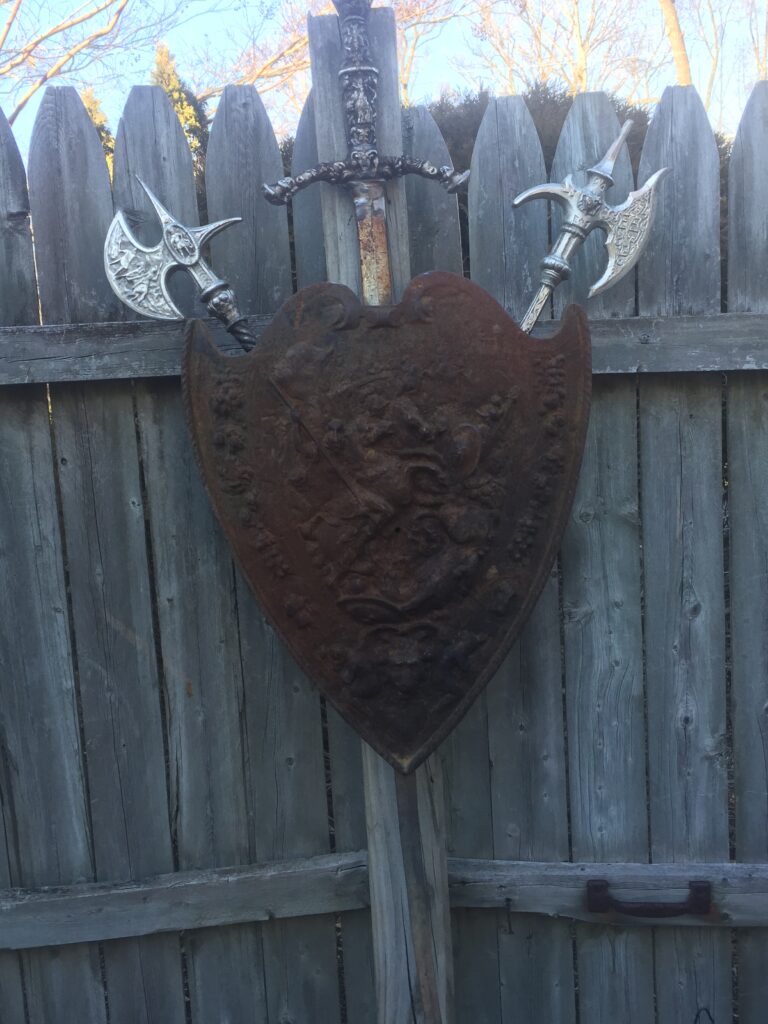
Cast-iron – bronze plate – fractured at a weak area in the cast. The fractured area was tapped out and reinforced with a custom 3mm post to marry the two pieces. Then seizing compound was applied to fuse the two pieces together…
Finished with a little metallic touch up paint and off to a happy customer…
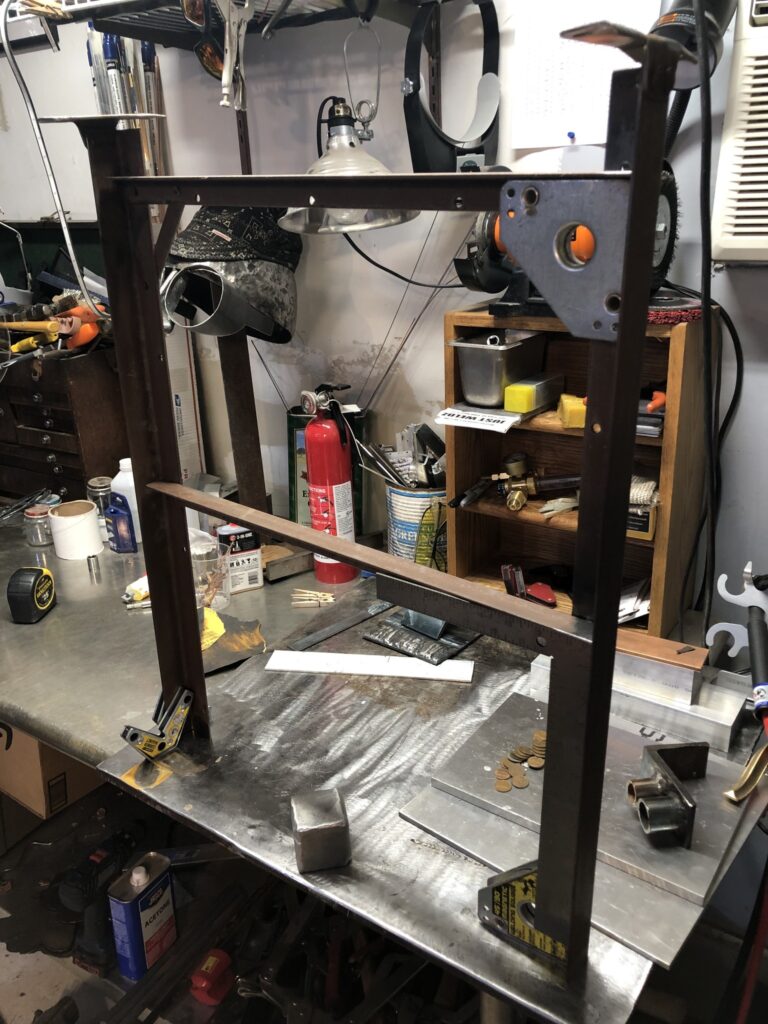
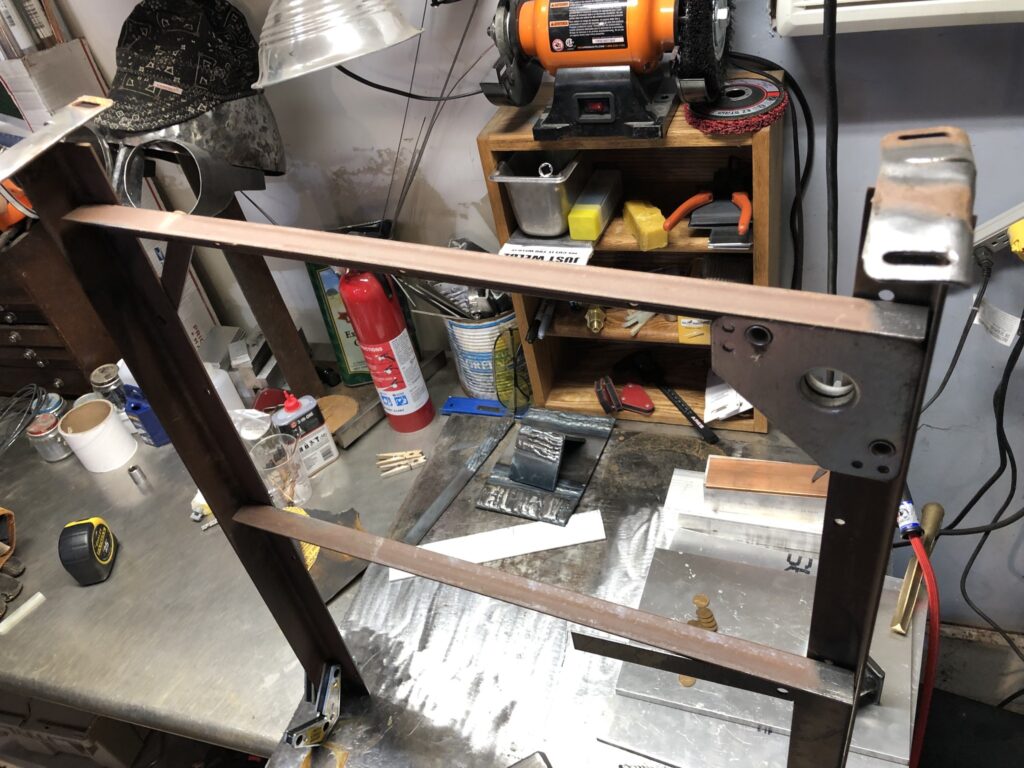
Old bed frame rails come in super handy when you need a quick fix and require some decent, light structural metal for certain jobs… With the price of bar-stock and angle iron – you can’t beat the deal! Turn to some old bed frame rails to solve the problem.
Some cutting – some grinding… A little MIG welding – a little TIG welding – and we have a new set of legs for a bench that had been resting on top of a file cabinet since 2010…